Affiliate Links Disclaimer: This blog post contains affiliate links and I make a small commission off any purchase you make when you click on them.
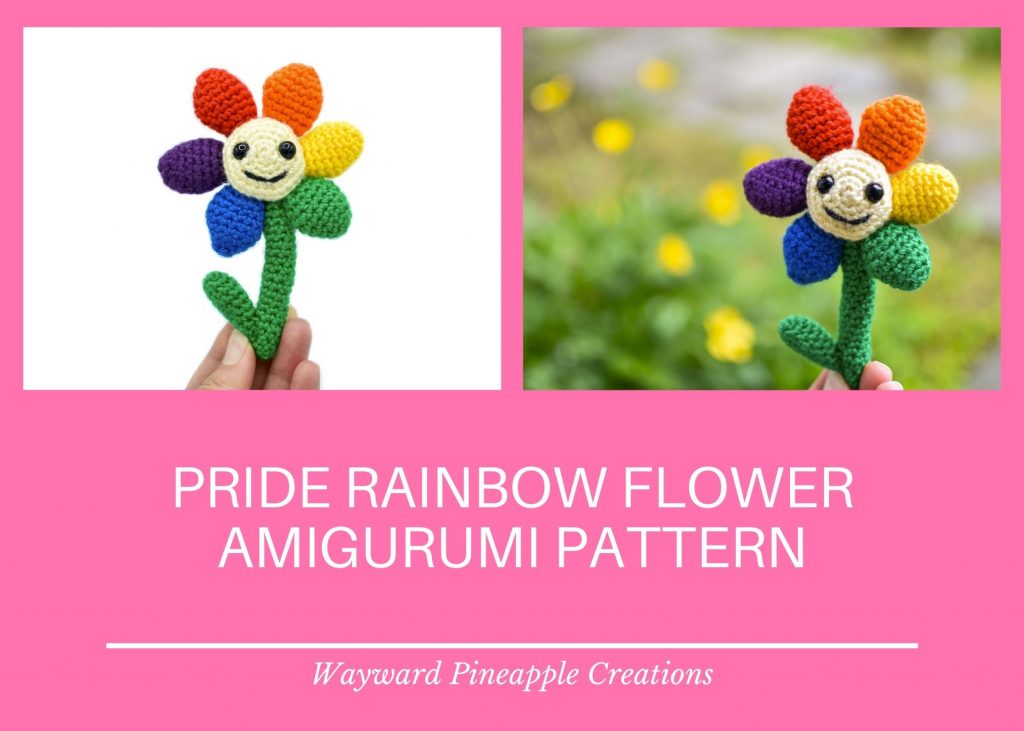
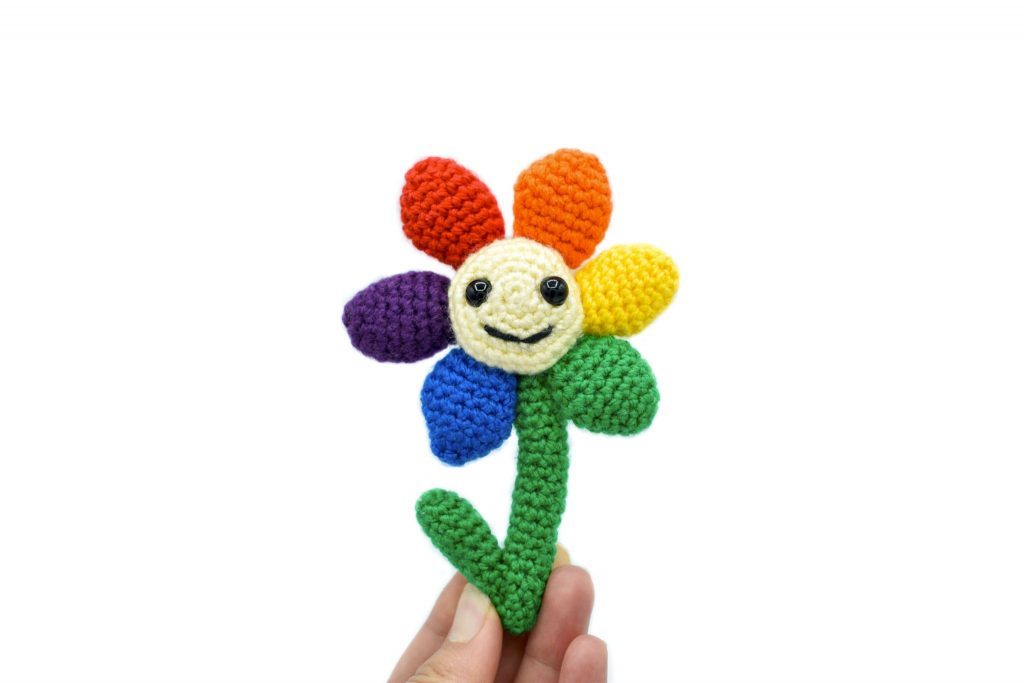
June has arrived, which means two things – summer and Pride Month! To celebrate, I decided to create this cute little rainbow flower. The pattern is quick and easy, and includes instructions to add a keychain so you can carry it around all year. Or you could make a little bouquet of them as a gift! For now I just made a flower in the rainbow Pride flag colours, but I’m planning on making some in other Pride flag colours too – just like my Pride Flag Amigurumi Hearts.
Download an Ad-Free PDF Copy of the Pride Rainbow Flower Amigurumi Pattern
Do you like my Pride Rainbow Flower Amigurumi Pattern? If so, please consider purchasing a copy of the premium PDF version for a small cost. The premium crochet pattern PDF is available for purchase on my website pattern shop, Ravelry, and Etsy, and includes 10 pages of pictures and detailed instructions to make your very own Pride Rainbow Flower.
Benefits Include:
– Ad-free & professionally formatted PDF of the pattern instructions, perfect for printing or downloading to your mobile devices
– Extra making-of photos not included in the free version below
In addition to the benefits above, your support will be greatly appreciated and will help me to continue designing and offering these free patterns to you!
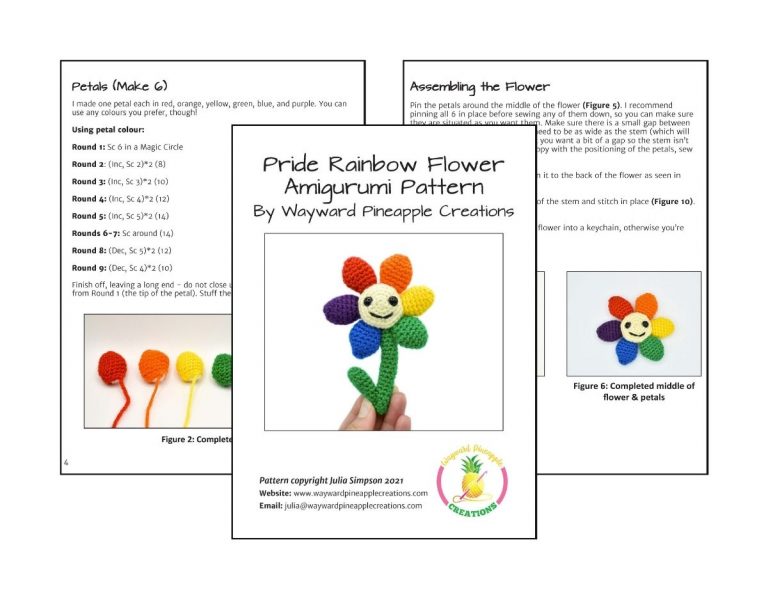
Visit the links below to purchase your ad-free premium copy of my Pride Rainbow Flower Amigurumi Pattern!
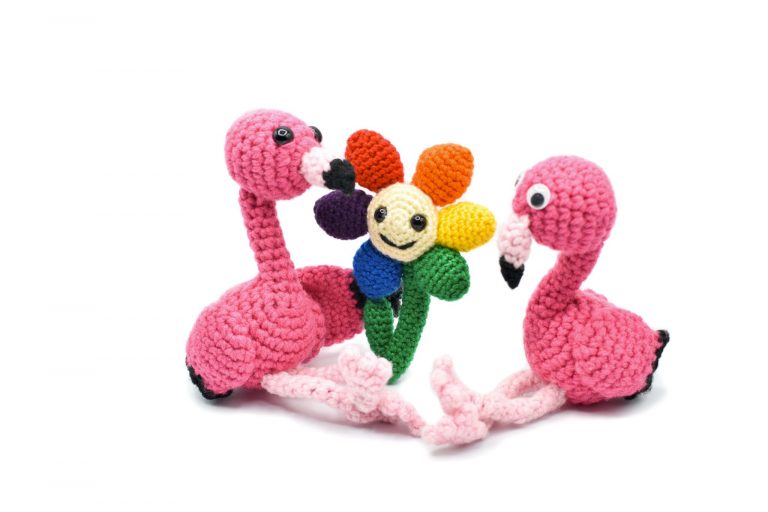
Feather the Flamingo is celebrating Pride Month by giving a rainbow flower to her girlfriend. Awww… Don’t they look cute together? 🙂
Join my newsletter and receive your FREE guide to the Five Essential Amigurumi Techniques!
Pride Rainbow Flower Amigurumi Pattern
Decorate your house for Pride Month with a bouquet of these cheerful rainbow flowers! This flower pattern is quick and easy to make, so you can whip up a mini garden in no time. You can also add a keychain and carry your flower with you every day!
Skill Level
Beginner
Finished Dimensions
Approx. 5″ tall
Supplies Needed
- DK weight/#3 yarn (Paintbox Yarns Simply DK or similar): Light yellow, red, orange, yellow, green, blue, purple, small amount of black
- Size C / 2.75mm crochet hook – I highly recommend the ergonomic Clover Amour hooks
- Two 9mm black safety eyes
- Fiberfill stuffing
- Yarn needle
- Scissors & pins
- Stitch marker – I recommend locking stitch markers
Optional Keychain:
- Keychain: I purchased mine on Amazon, they have a 1” split key ring, a short chain, and an open jump ring.
- Pliers
Terms & Abbreviations
- Mc: Magic Circle
- Ch: Chain
- Sl: Slip Stitch
- Sc: Single Crochet
- Inc: Increase
- Dec: Decrease – I recommend using the Invisible Decrease
Pattern Notes
When reading the pattern, (_,_)*x means that you repeat the instructions in the bracket “x” number of times. For example, (Sc 1, Inc)*6 means to repeat (Sc 1, Inc) 6 times. The number in brackets at the end of each row is the total number of stitches you will have when you finish that row.
Pattern Instructions
Middle of Flower
Round 1: Sc 6 in a a Magic Circle
Round 2: Inc*6 (12)
Round 3: (Sc 1, Inc)*6 (18)
Round 4: (Sc 2, Inc)*6 (24)
Round 5: (Sc 3, Inc)*6 (30)
Rounds 6-7: Sc around (30)
Round 8: (Sc 3, Dec)*6 (24)
Insert safety eyes between Rounds 3 & 4, approx. 5-6 stitches apart.
Round 9: (Sc 2, Dec)*6 (18)
Round 10: (Sc 1, Dec)*6 (12)
Begin stuffing the flower.
Round 11: Dec*6 (6)
Finish stuffing the flower, then finish off and weave in the ends.
Cut a length of black yarn and embroider on the mouth.
Petals (Make 6)
I made one petal each in red, orange, yellow, green, blue, and purple. You can use any colours you prefer, though!
Using petal colour:
Round 1: Sc 6 in a Magic Circle
Round 2: (Inc, Sc 2)*2 (8)
Round 3: (Inc, Sc 3)*2 (10)
Round 4: (Inc, Sc 4)*2 (12)
Round 5: (Inc, Sc 5)*2 (14)
Rounds 6-7: Sc around (14)
Round 8: (Dec, Sc 5)*2 (12)
Round 9: (Dec, Sc 4)*2 (10)
Finish off, leaving a long end – do not close up the hole. Weave in the end from Round 1 (the tip of the petal). Stuff the petal.
Stem
Using green and stuffing as you go:
Round 1: Sc 8 in a Magic Circle
Rounds 2-22: Sc around (8)
Finish off, leaving a long end – do not close up the hole. Weave in the end from Round 1 (this will be the bottom of the stem). Finish stuffing the stem, but leave the top couple of rows unstuffed.
Leaf
Using green:
Round 1: Sc 6 in a Magic Circle
Round 2: (Inc, Sc 2)*2 (8)
Round 3: (Inc, Sc 3)*2 (10)
Rounds 4-5: Sc around (10)
Round 6: (Dec, Sc 3)*2 (8)
Round 7: Sc around (8)
Round 8: (Dec, Sc 2)*2 (6)
Round 9: Sc around (6)
Finish off, leaving a long end – do not close up the hole. Weave in the end from Round 1 (the tip of the leaf). Stuff the leaf.
Assembling the Flower
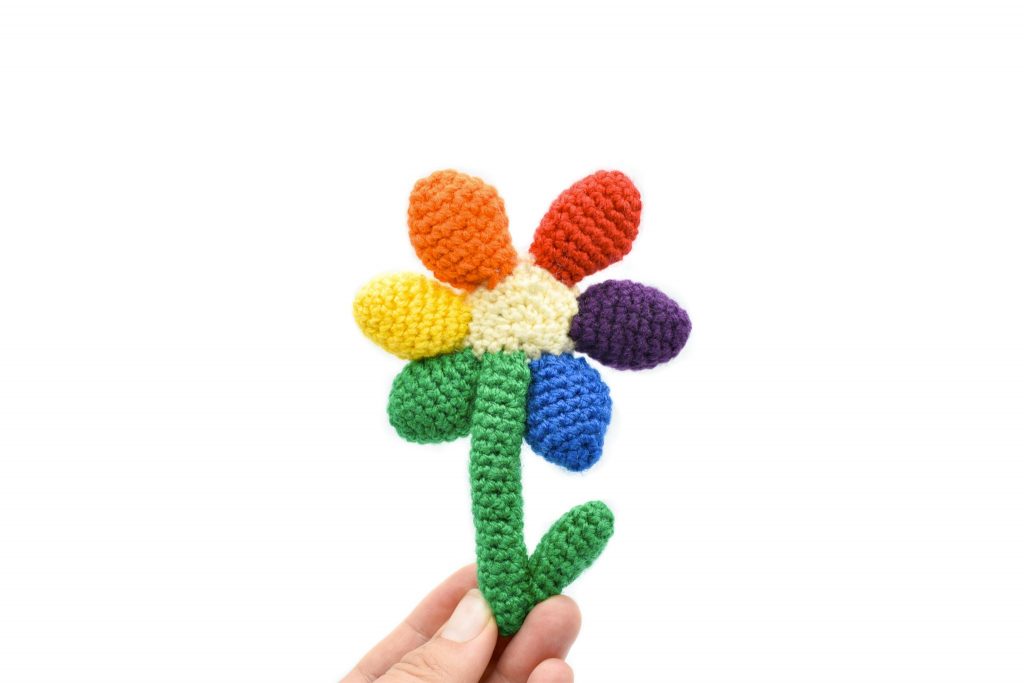
Pin the petals around the middle of the flower. I recommend pinning all 6 in place before sewing any of them down, so you can make sure they are situated as you want them. Make sure there is a small gap between the bottom two petals. It doesn’t need to be as wide as the stem (which will be sewn on behind the petals), but you want a bit of a gap so the stem isn’t covered by a petal. Once you’re happy with the positioning of the petals, sew them into place.
Flatten the end of the stem and pin it to the back of the flower. Sew into place.
Finally, pin the leaf to the bottom of the stem and stitch in place. Finish weaving in all ends.
Read on if you’d like to make your flower into a keychain, otherwise you’re done!
Optional: Adding a Keychain
Cut the yarn, leaving a long end.
The keychains I purchased consist of a split ring attached to a chain, and a separate open jump ring. If you have something similar, follow my instructions for attaching an open jump ring to your flower.
If you have a keychain where the jump ring is already closed and can’t be easily opened, then skip to my instructions for attaching a closed jump ring to your flower.
If you have an OPEN jump ring on your keychain:
Join the yarn into a loop and stitch it securely to the flower. To attach the keychain, insert the open jump ring through the chain of the keychain and then through the yarn loop you just made. Use pliers to close the jump ring tightly.
If you have a CLOSED jump ring on your keychain:
Do not sew the chains into a loop or stitch it to the flower yet. First, run the yarn through the jump ring. Then you can go ahead and sew the yarn into a loop and stitch it securely to your flower.
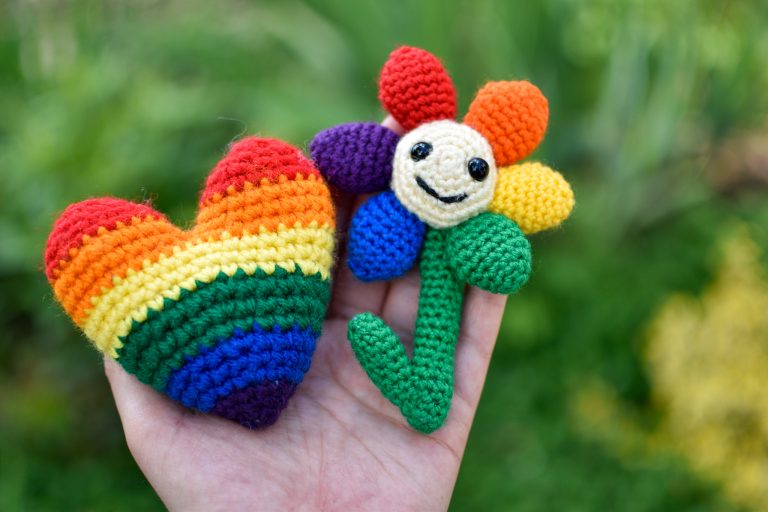
My Pride Flower and my Pride Heart hanging out in my garden. 🙂 Grab my Pride Heart pattern here!
If you enjoyed this pattern, please consider purchasing the low-cost printable PDF version! You’ll receive a professionally formatted, ad-free PDF with photos to help you create your flower, and your support will help me to continue designing patterns for you.
If you have any questions about this pattern, please don’t hesitate to comment below or email me. And if you made your own Pride Rainbow Flower I would love to see a picture on Instagram! Make sure to tag me so I don’t miss it, @waywardpineapplecreations.
© Wayward Pineapple Creations | Julia Simpson This pattern and all related images are copyright protected. You may sell items made from my patterns, but please do not copy/paste, distribute, or alter the pattern and claim it as your own.
AFFILIATE DISCLOSURE
Wayward Pineapple Creations is a participant in the Amazon Services LLC Associates Program, an affiliate advertising program designed to provide a means for sites to earn advertising fees by advertising and linking to Amazon.com. If you use these affiliate links to make a purchase, I may earn a commission. As an Amazon Associate, I earn from qualifying purchases. Thank you.

4 thoughts on “Free Pattern: Pride Rainbow Flower Amigurumi”