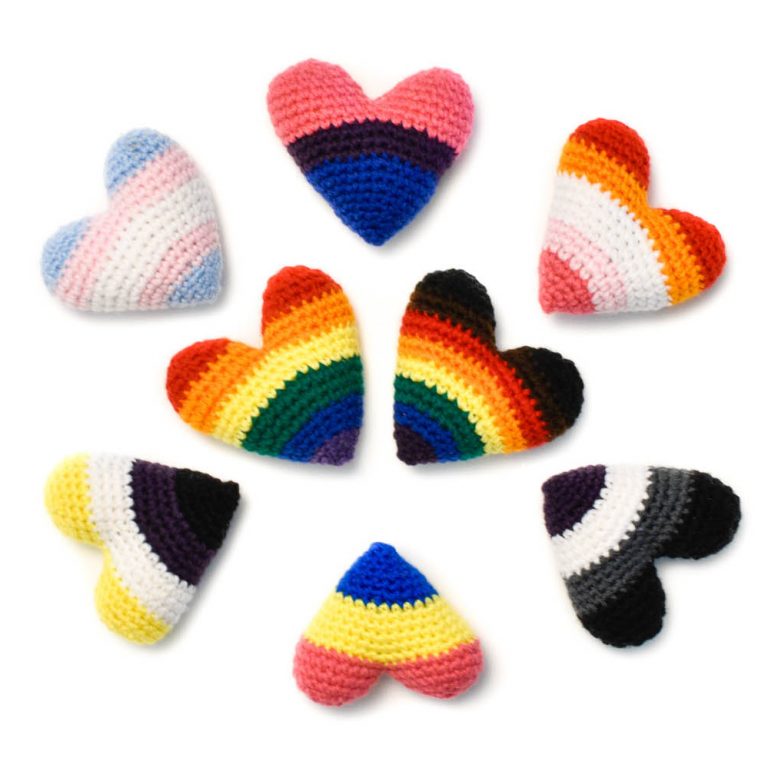
The Invisible Colour Change is a super useful technique to master for any amigurumi project. When crocheting in a spiral, a normal colour change is very noticeable and messy looking – not ideal! If you are creating a piece with a lot of colour changes (for example, the Rainbow Pride Flag Heart seen in this tutorial) then you will definitely want your work to look as seamless as possible.
The first step to the Invisible Colour Change is to fasten off your first colour using the Invisible Finish. Then, you will join the second colour to your work using the Standing Single Crochet. Read on for full instructions!
Part 1: The Invisible Finish
The Invisible Finish is the first step to making an Invisible Colour Change, but it’s also an invaluable technique on its own. The most common finishing method when crocheting in a spiral is to join the last stitch of the round with the first stitch using a Slip Stitch. This creates a noticeable bump where you joined the rounds. The Invisible Finish provides a more polished look for your amigurumi and I highly recommend using it to finish off any piece.
Invisible Finish Step 1
After completing your round in the first colour, cut the yarn and draw it up through the last stitch.
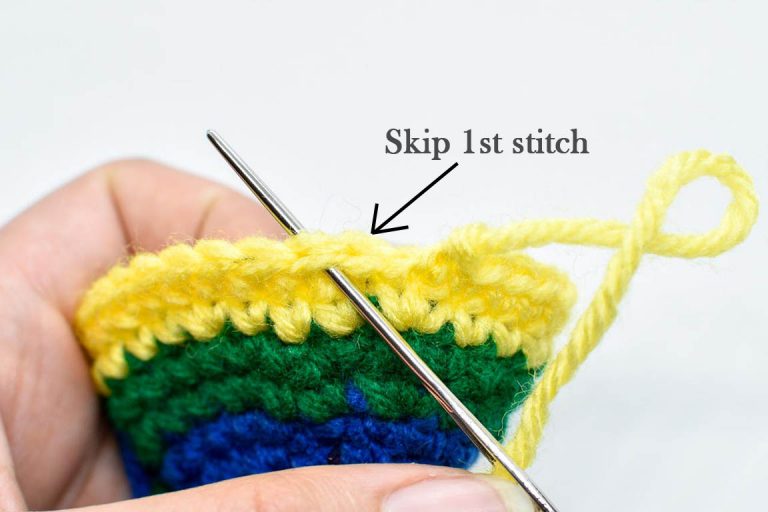
Invisible Finish Step 2
Thread the yarn end onto a yarn needle. Skip the first stitch of the next round and insert the yarn needle into the second stitch of the round. Pull the yarn through the stitch.
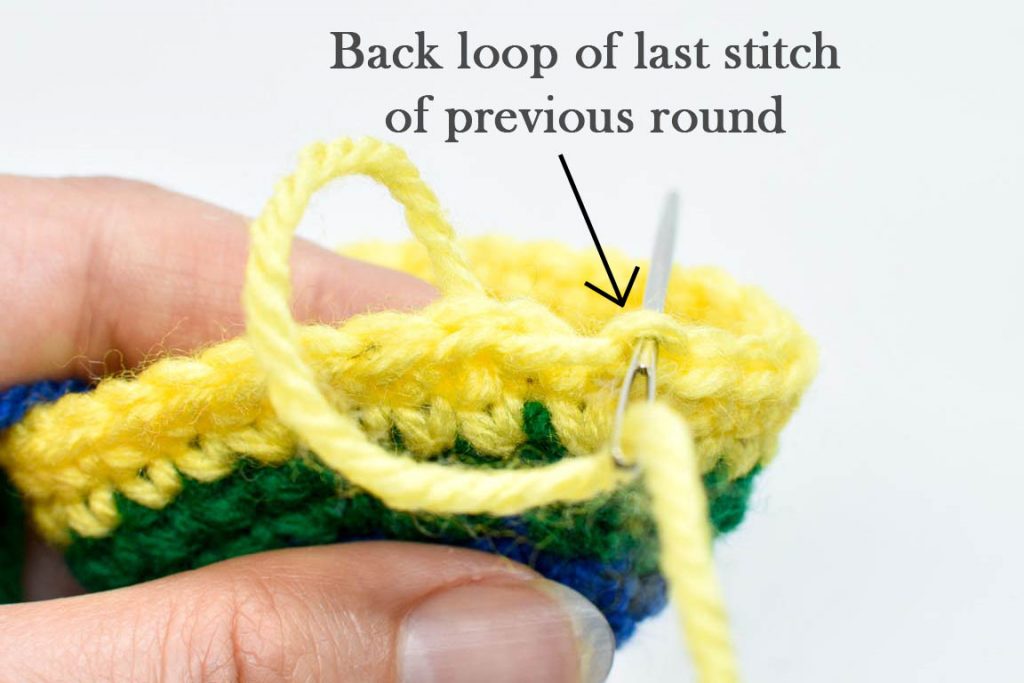
Invisible Finish Step 3
Insert your needle into the back loop of the last stitch of the previous round. Pull the yarn through. This creates a ‘fake stitch’, which will serve as the first stitch of the next round. The Invisible Finish is now complete!
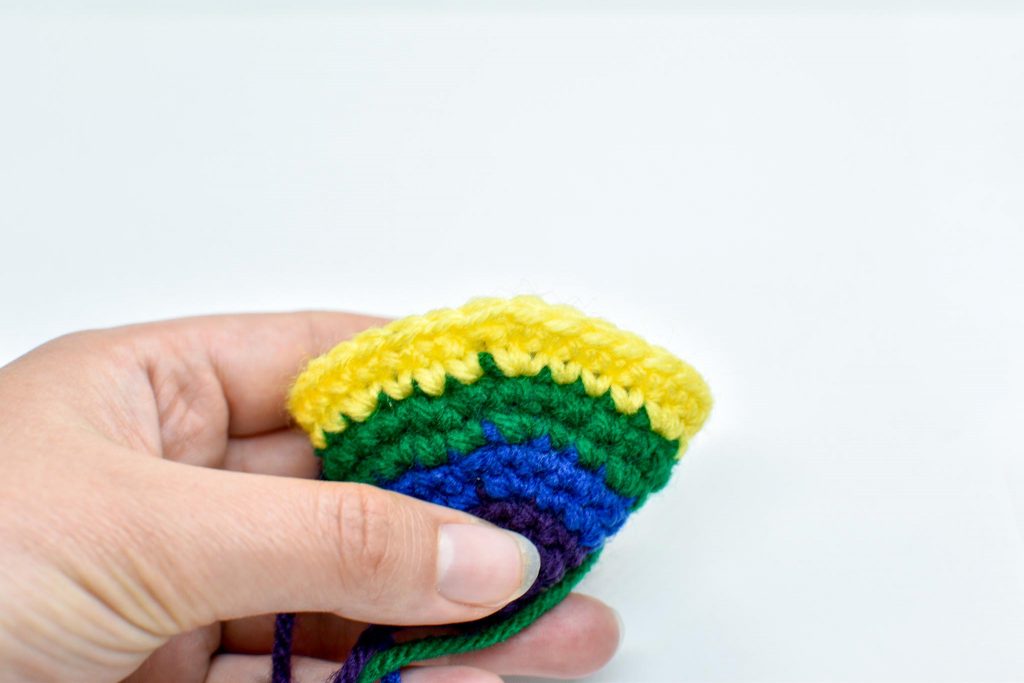
Completed Invisible Finish
The Invisible Finish is now complete! As you can see, it creates a nice smooth finish to your row so that you can’t tell where the row ends. Next, read on to learn how to add a new colour using the Standing Single Crochet technique.
Part 2: Standing Single Crochet
Once you’ve completed your Invisible Finish, you will attach the second colour to your work using the Standing Single Crochet. This will create an Invisible Colour Change!
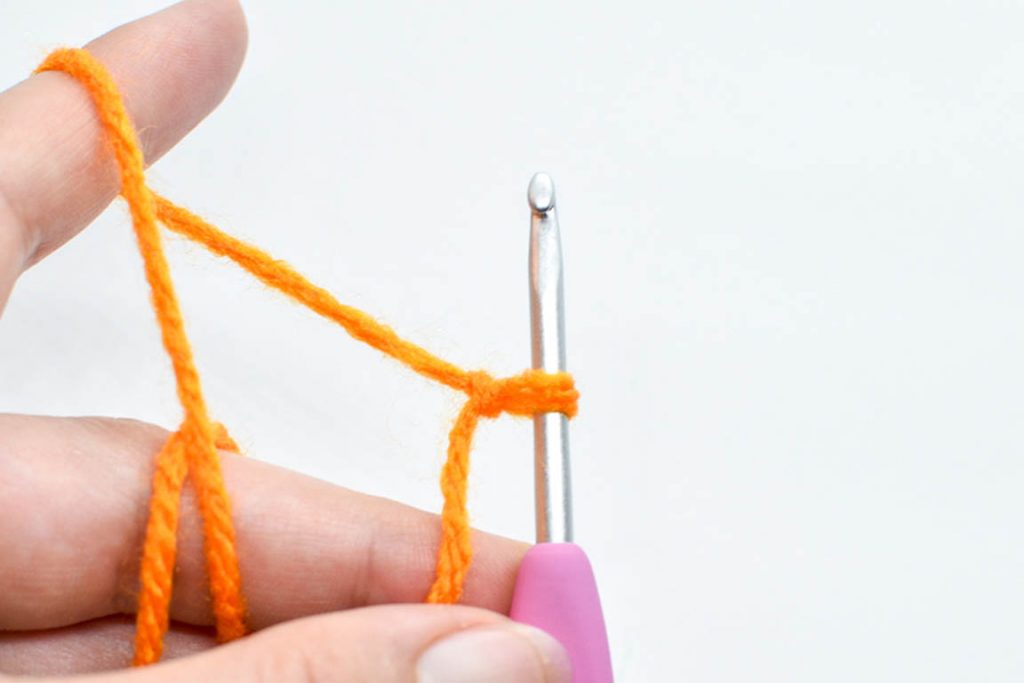
Standing Single Crochet Step 1
Make a slip knot on your hook using the new colour.
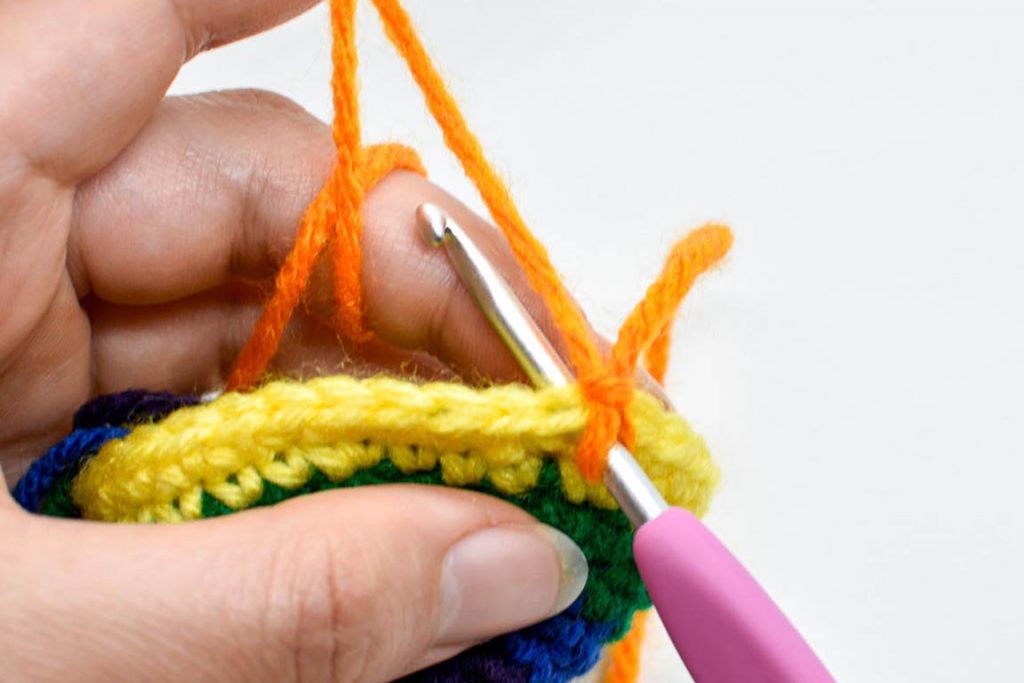
Standing Single Crochet Step 2
Insert your hook into the first stitch of the next round (the fake stitch you made before).
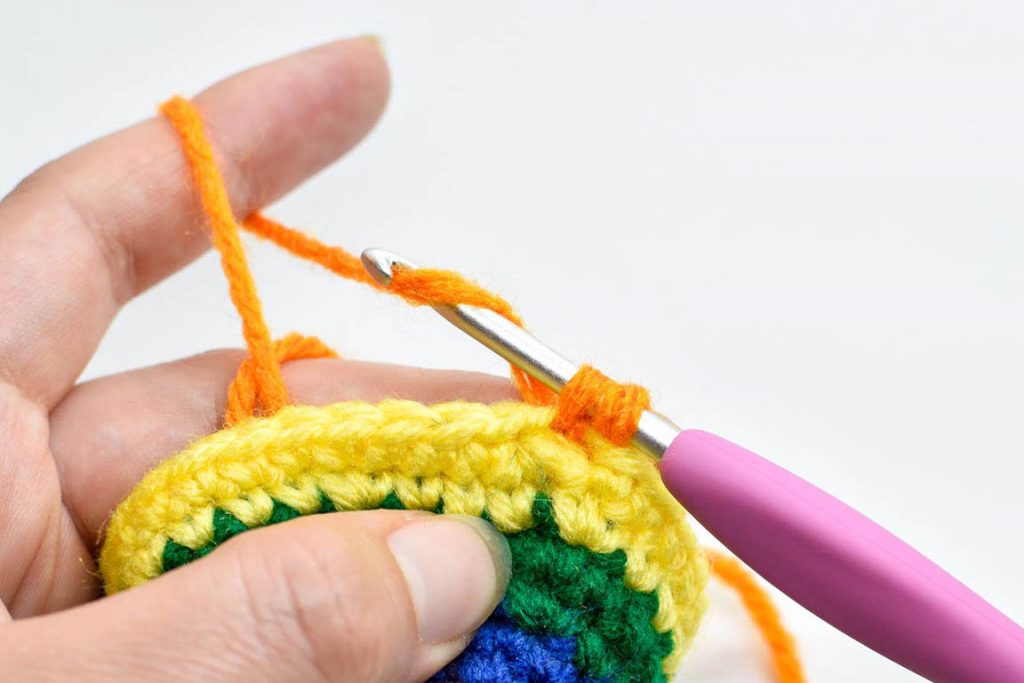
Standing Single Crochet Step 3
Complete the single crochet as normal: Yarn over, pull through, yarn over, pull through both loops on your hook.
Completed Invisible Colour Change
Your Invisible Colour Change is now complete! To deal with the yarn ends, you can crochet over them, weave them in, or if you’re making a stuffed 3D object then you can just tie and cut them. For my Rainbow Pride Heart the ends are all hidden inside the heart, so I normally tie and cut. Just don’t pull the knot too tight, or it can warp your work a bit
Join my newsletter and receive your FREE guide to the Five Essential Amigurumi Techniques!
Looking for my Pride Flag Hearts Amigurumi Pattern?
Curious about the crochet Pride Flag heart I used to illustrate my tutorial? This heart is part of my set of Amigurumi Pride Flag Heart patterns, which includes instructions to make 8 different Pride flags. The patterns are available for free on my blog, or you can purchase an ad-free PDF for just a few dollars – and 50% of each sale goes to charity! Click here or on the button below to learn more.
I hope you enjoy this tutorial, and if you have any questions please don’t hesitate to comment below or email me.
And if you made your own creations using this tutorial, I would love to see a picture on Instagram! Make sure to tag me so I don’t miss it, @waywardpineapplecreations.
2 thoughts on “Crochet Tutorial: The Invisible Colour Change”
Thanks for this it’s a really interesting method and is definitely making my “in-the-round” items look cleaner. One note: Step 3 of Part 1 seems to have the same text instructions as Step 2. I figured it out from the picture, but you may want to update the text.
Hi Amy, thank you for catching that! I will fix it right away. I’m glad the tutorial helped you, I agree it definitely makes a difference when you’re doing lots of colour changes. 🙂
Julia