Share on facebook
Share on twitter
Share on pinterest
Share on email

Affiliate Links Disclaimer: This blog post contains affiliate links and I make a small commission off any purchase you make when you click on them.
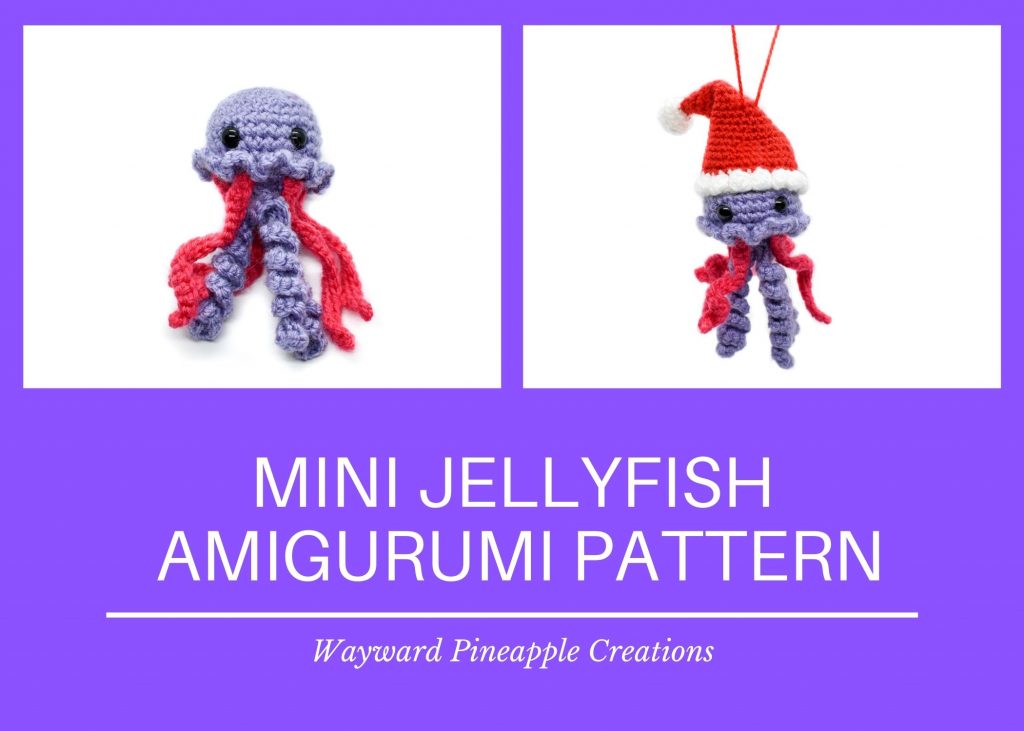
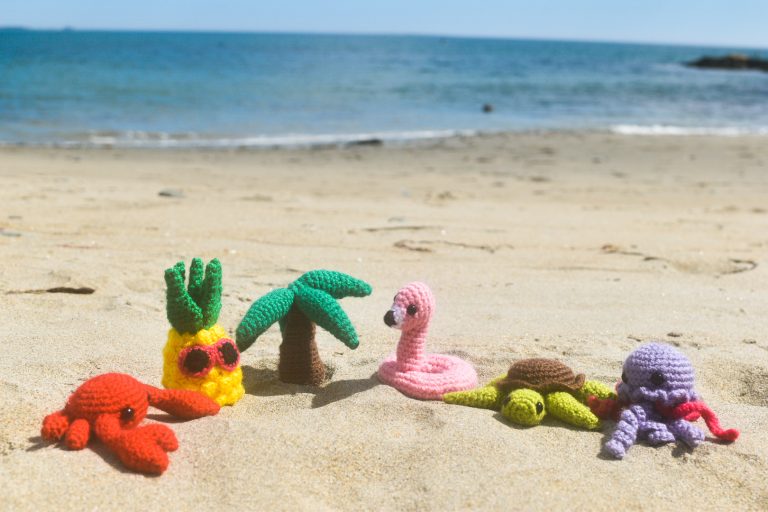
The fifth pattern in my Tropical Beach Mini Amigurumi Patterns series is this little jellyfish! Jellyfish are so cool looking, I of course had to make one when I was coming up with tropical beach inspired designs. I made my jellyfish in purple and pink, but you could make a bunch of them in different colour combinations. Did you know that a group of jellyfish is called a ‘smack’? Me neither until two minutes ago! So that’s what you would have if you make a bunch of them, a smack of jellyfish… that just sounds weird!
Like my other mini dolls, this jellyfish would fit right into a child’s playset, or you could hang a group (or a ‘smack’) of them from a mobile in an ocean-themed nursery. You could also crochet her with thick blanket yarn and embroider on her eyes to make a bigger and more cuddly version for a small child!
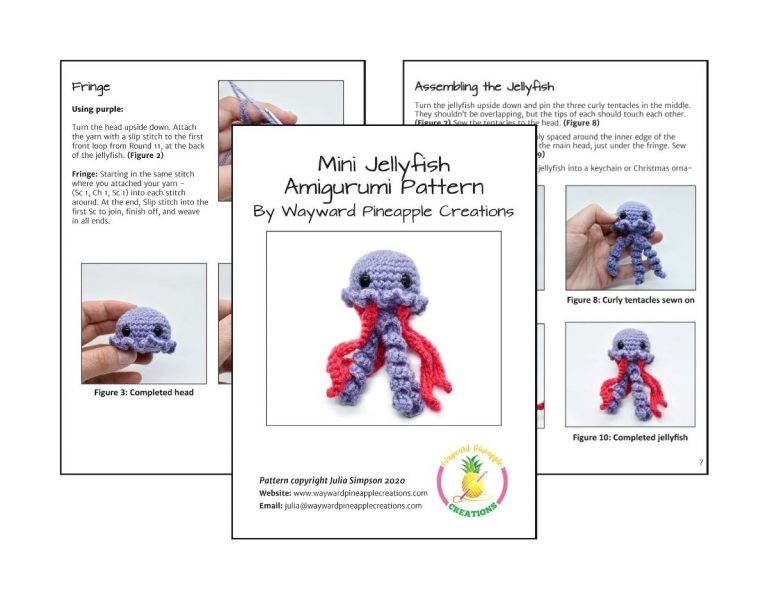
My Mini Jellyfish Amigurumi Pattern is available for free in this post, or you can purchase an ad-free PDF copy for a few dollars in my shop, on Etsy, or on Ravelry. If you have the means, please consider grabbing a copy of the PDF version! You will get an awesome premium version of the pattern, plus you will be supporting me so I can keep designing patterns for you. Click here for more details!
Download an Ad-Free PDF Copy of the Mini Jellyfish Amigurumi Pattern
Do you like my Mini Jellyfish Amigurumi Pattern? If so, please consider purchasing a copy of the premium PDF version for a small cost. The premium crochet pattern PDF is available for purchase on my website pattern shop, Ravelry, and Etsy, and includes 15 pages of pictures and detailed instructions to make your very own Mini Jellyfish.
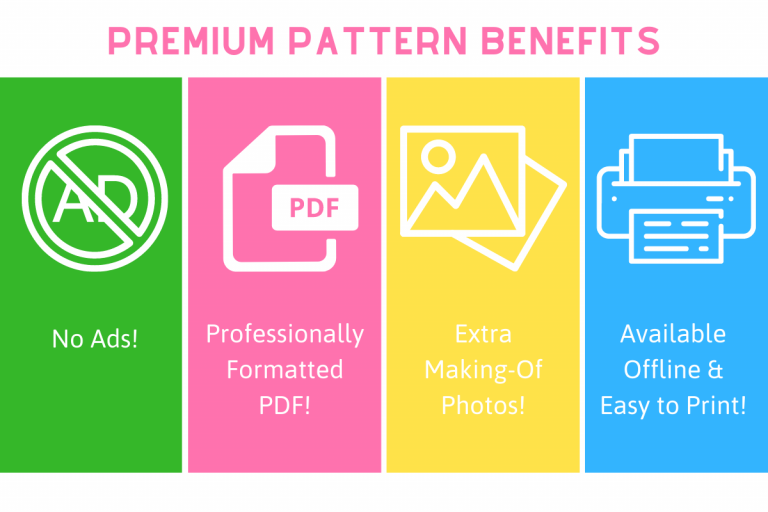
Benefits Include:
– Ad-free & professionally formatted PDF of the pattern instructions, perfect for printing or downloading to your mobile devices
– Extra making-of photos not included in the free version below
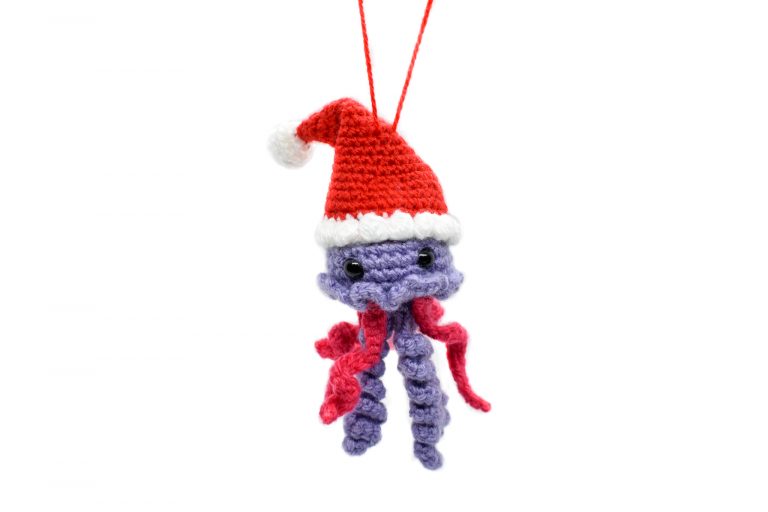
– Two patterns in one! The PDF includes both the normal Jellyfish & the Christmas Jellyfish patterns. A Bobble Stitch photo tutorial (for the Santa hat) is also included.
In addition to the benefits above, your support will be greatly appreciated and will help me to continue designing and offering these free patterns to you!
Visit the links below to purchase your ad-free premium copy of my Mini Jellyfish Amigurumi Pattern!
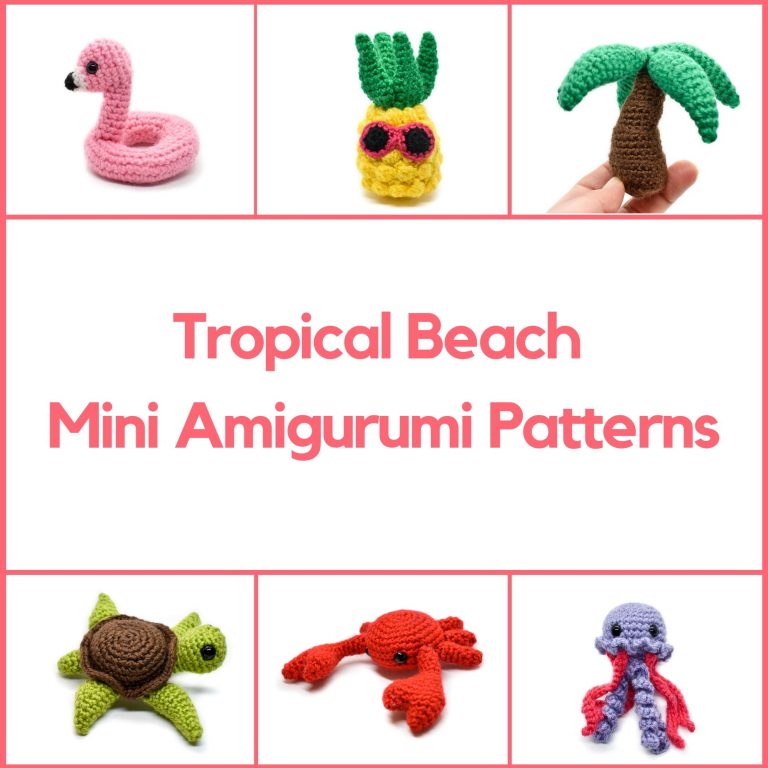
Tropical Beach Mini Amigurumi Series
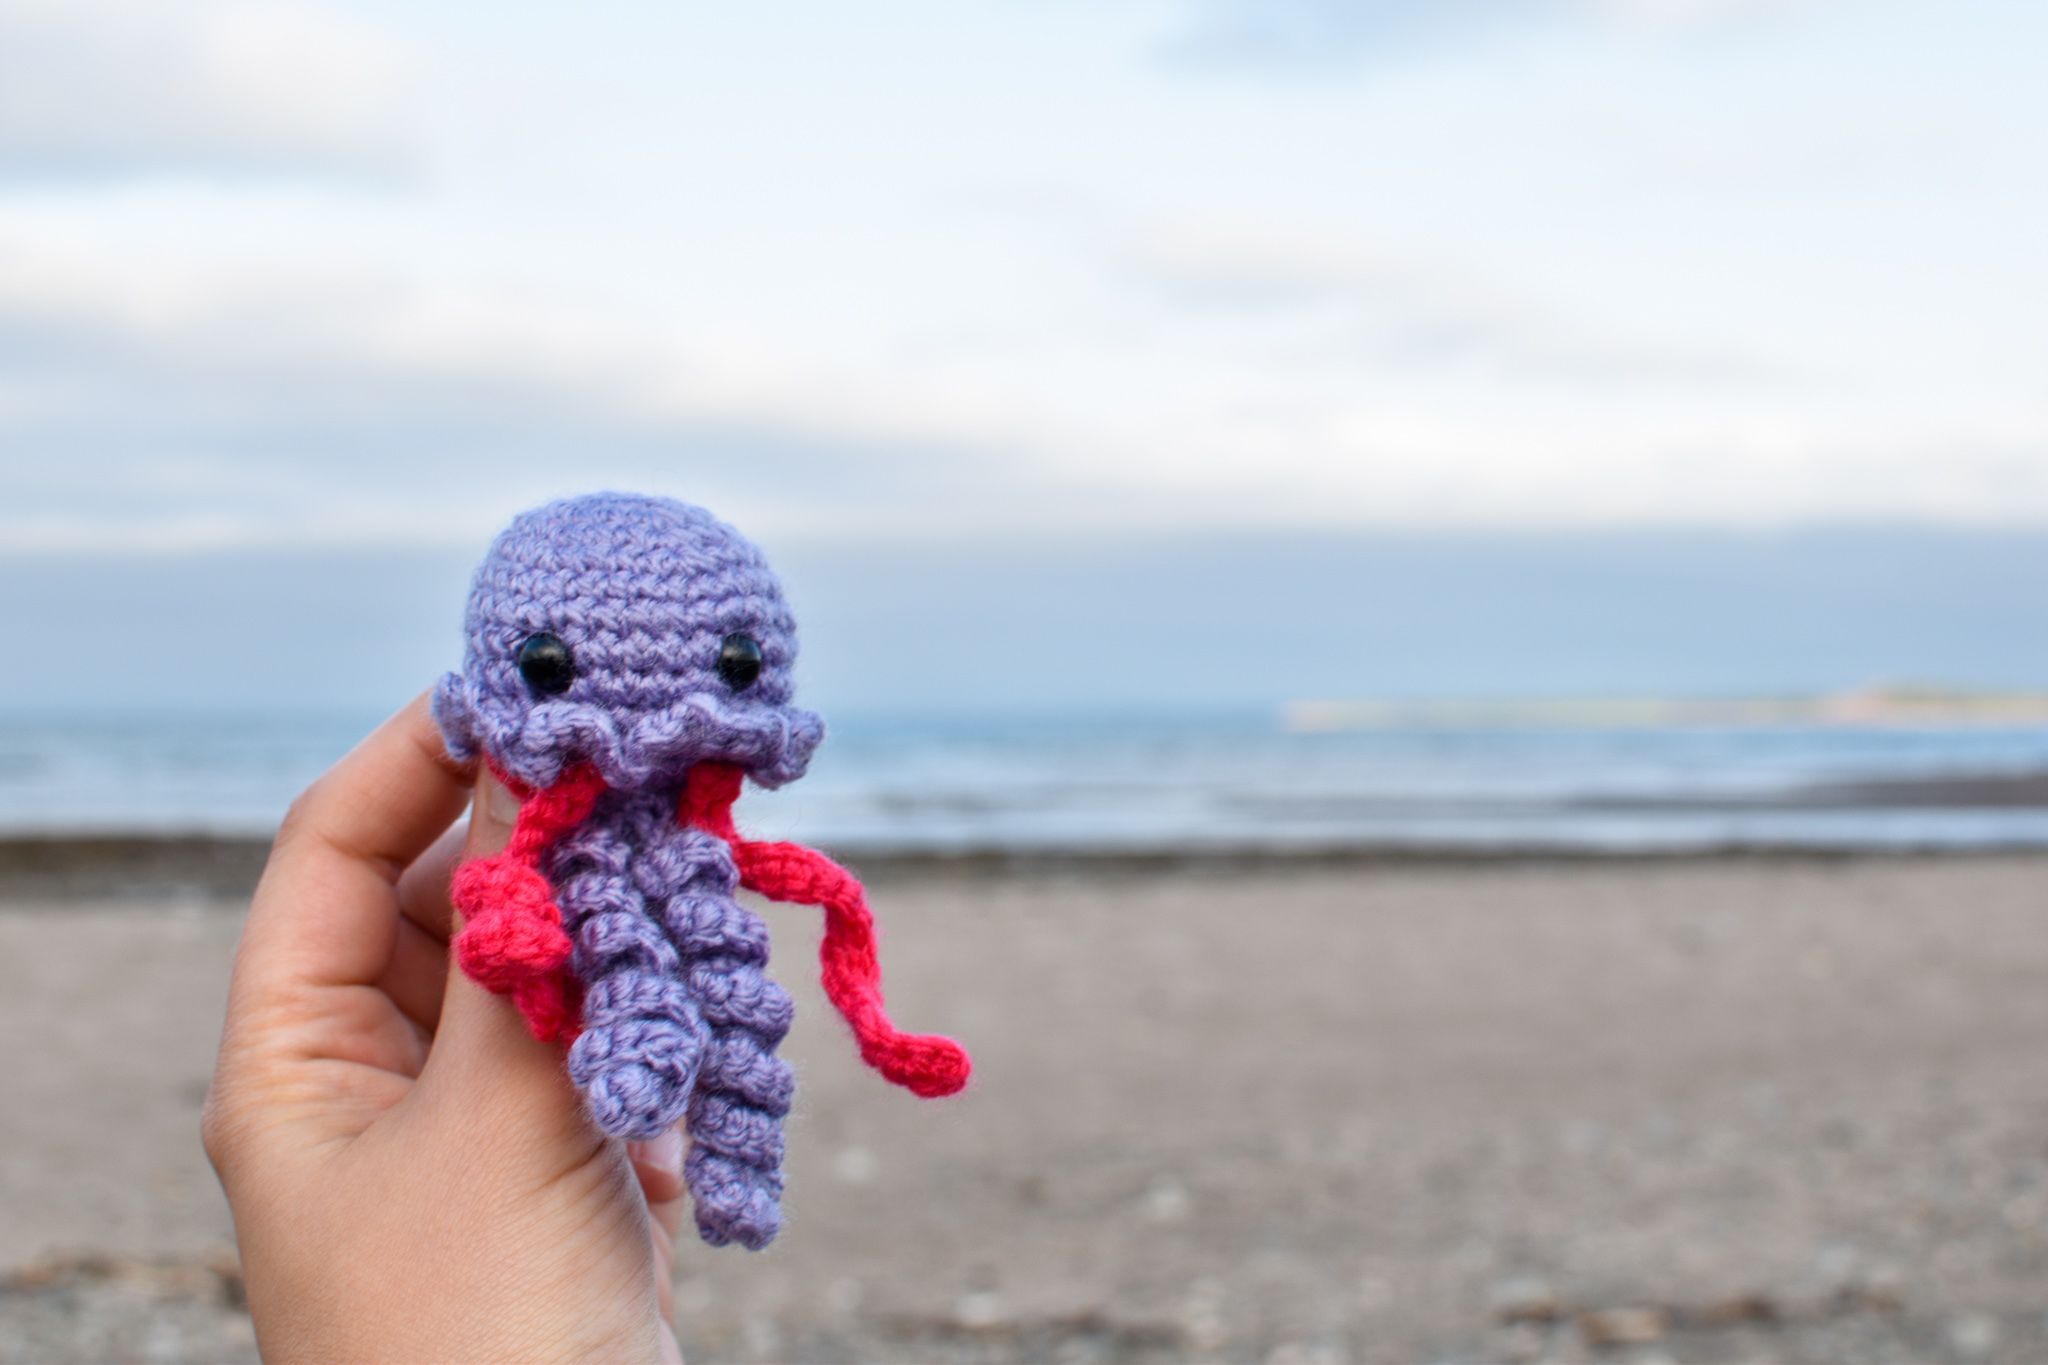
Wondering who are the little cuties hanging out with my jellyfish at the beach above? That’s my gang of Tropical Beach Mini Amigurumis! They and my jellyfish are all part of my Tropical Beach Mini Amigurumi pattern series. Click below to learn more about the other patterns in this series, and to find some special bundle deals!
Join my newsletter and receive your FREE guide to the Five Essential Amigurumi Techniques!
Mini Jellyfish Amigurumi Pattern
Jellyfish have a bad reputation for painfully stinging unlucky swimmers, but this jellyfish just wants to say hi! She doesn’t understand why her new friends scream and swim away from her whenever she gives them a friendly wave of her tentacles…
Skill Level
Beginner
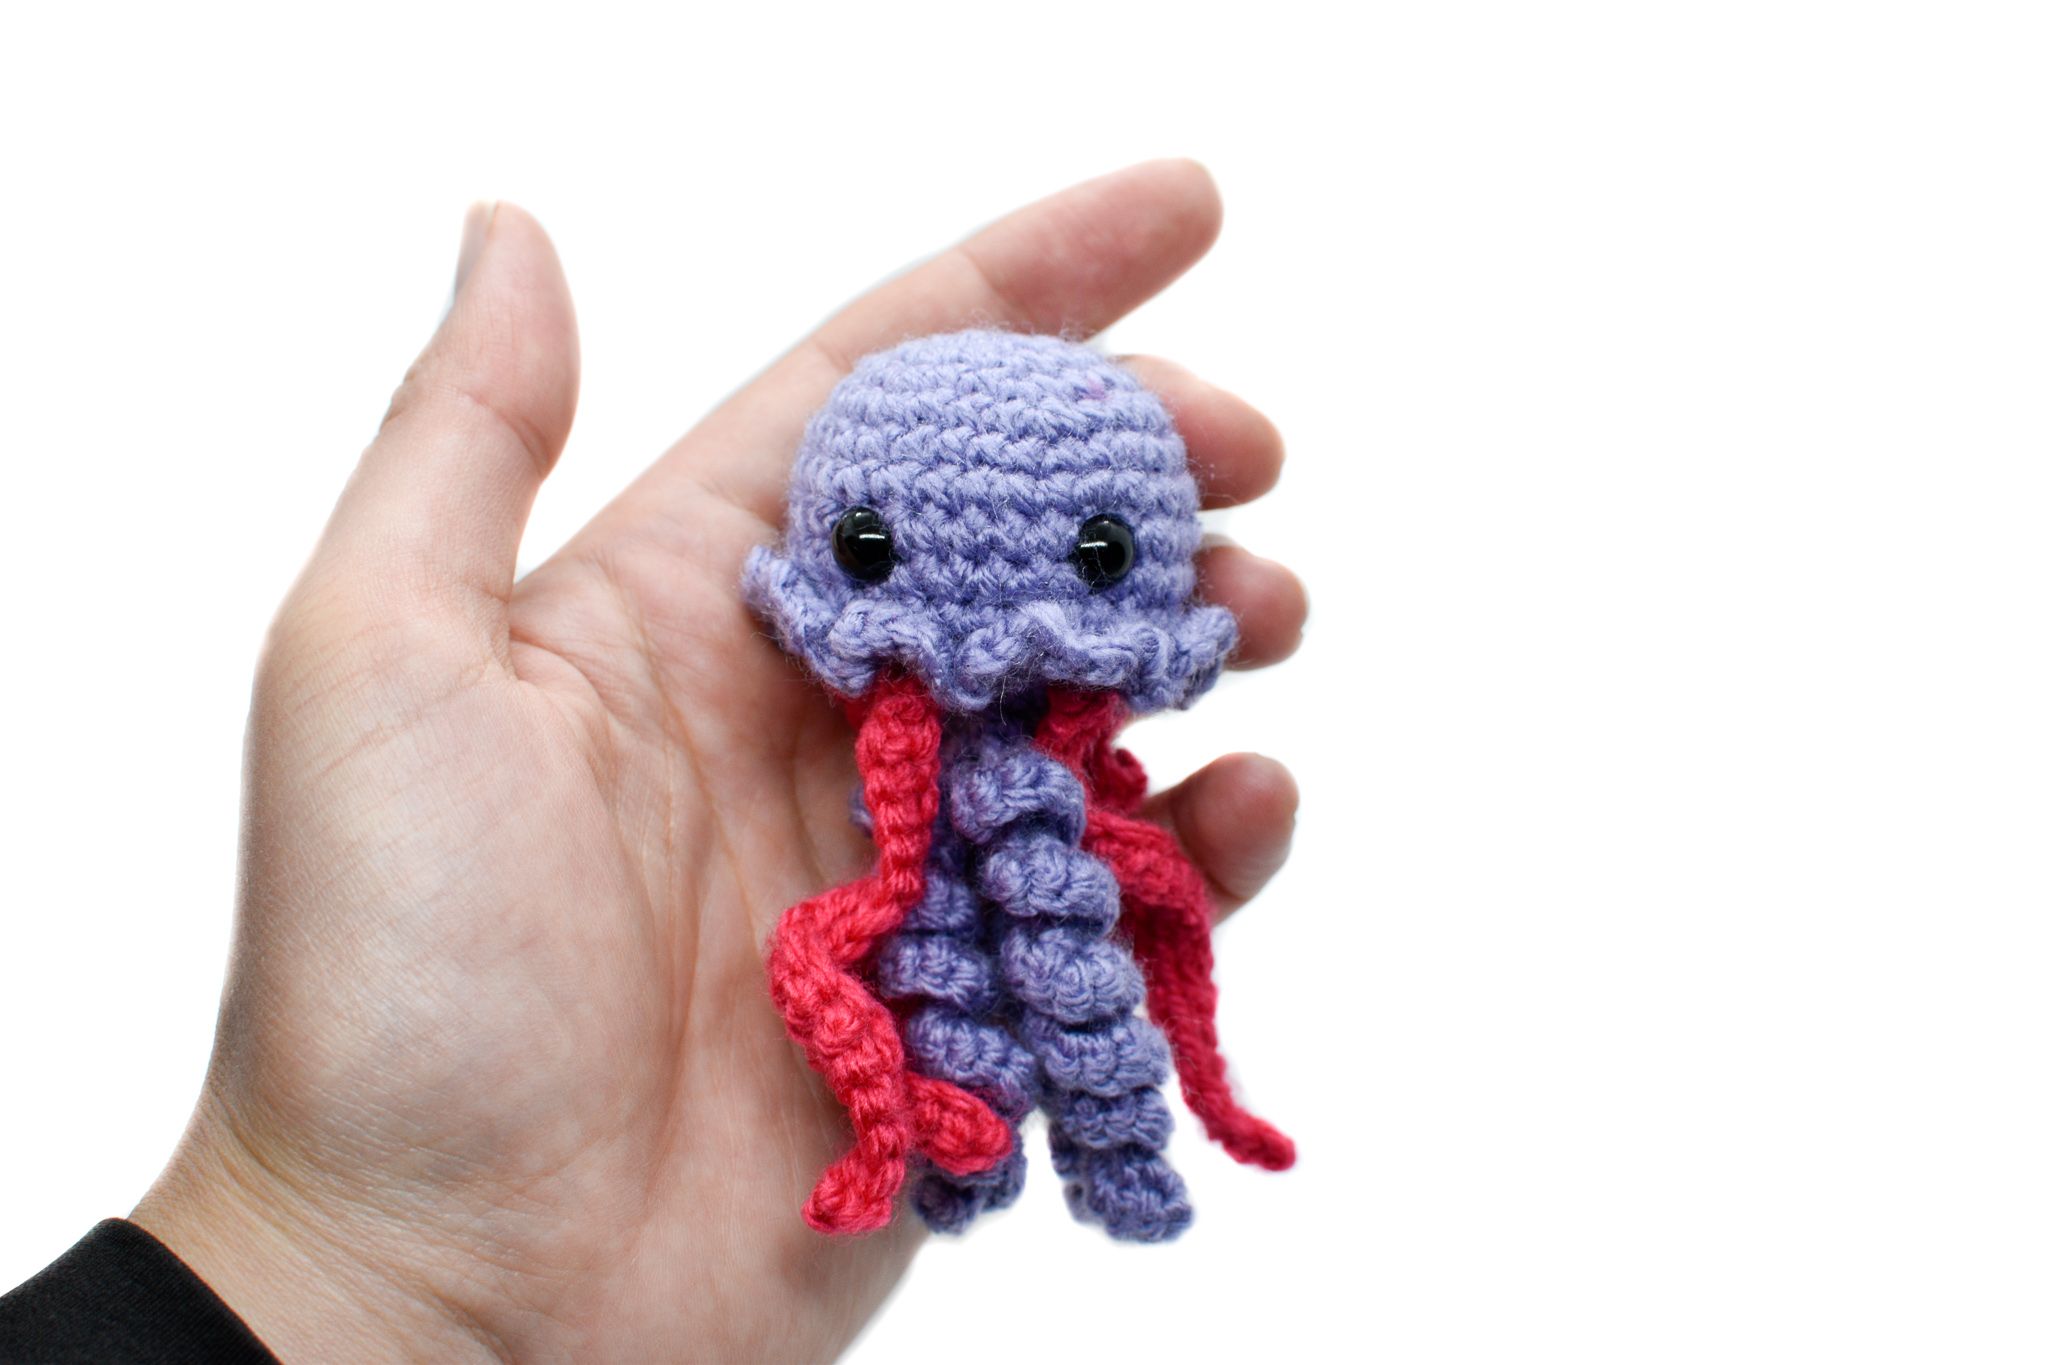
Finished Dimensions
Approx. 3″ tall
Supplies Needed
- DK weight/#3 yarn (Paintbox Yarns Simply DK or similar): Purple, pink
- Size C / 2.75mm crochet hook – I highly recommend the ergonomic Clover Amour hooks
- Two 8mm black safety eyes
- Fiberfill stuffing
- Yarn needle
- Scissors & pins
- Stitch marker – I recommend locking stitch markers
Optional Keychain:
- Keychain: I purchased mine on Amazon, they have a 1” split key ring, a short chain, and an open jump ring.
- Pliers
Optional Santa Hat:
- DK weight/#3 yarn (Paintbox Yarns Simply DK or similar): Red, white
- A length of red ribbon or yarn for the hanger
Terms & Abbreviations
All details below are based on US crochet terms.
- Mc: Magic Circle
- Ch: Chain
- Sl: Slip Stitch
- Sc: Single Crochet
- Inc: Increase
- Dec: Decrease – I recommend using the Invisible Decrease
- 3Inc: Work 3 stitches into the same space
- BLO: Crochet in back loop only
Optional Santa Hat:
- Dc: Double Crochet
- Bobble Stitch
Pattern Notes
You will be working in a continuous spiral for the head. Use a stitch marker and do not join rounds or turn (unless otherwise stated). The tentacles are made in rows.
When reading the pattern, (_,_)*x means that you repeat the instructions in the bracket “x” number of times. For example, (Sc 1, Inc)*6 means to repeat (Sc 1, Inc) 6 times. The number in brackets at the end of each row is the total number of stitches you will have when you finish that row.
Pattern Instructions
Head
Using purple:
Round 1: Sc 6 in a Magic Circle
Round 2: Inc*6 (12)
Round 3: (Sc 1, Inc)*6 (18)
Round 4: (Sc 2, Inc)*6 (24)
Round 5: (Sc 3, Inc)*6 (30)
Rounds 6-10: Sc around (30)
Round 11: BLO – Sc around (30)
Insert safety eyes now, between rows 8 and 9 and approx. 5 stitches apart. Place the eyes at the front of the jellyfish – the backside is where you are starting each row.
Round 12: (Sc 1, Dec)*10 (20)
Start stuffing the jellyfish, and continue to stuff as you complete the last two rows.
Round 13: Dec*10 (10)
Round 14: Dec*5 (5)
Finish off and close up the hole. Weave in all ends.
Fringe
Using purple:
Turn the head upside down. Attach the yarn with a slip stitch to the first front loop from Round 11, at the back of the jellyfish.
Fringe: Starting in the same stitch where you attached your yarn – (Sc 1, Ch 1, Sc 1) into each stitch around. At the end, Slip stitch into the first Sc to join, finish off, and weave in all ends.
Curly Tentacles (Make 3)
Using purple:
Row 1: Ch 21
Row 2: Starting in the 2nd Ch from the hook, 3Inc into each stitch across (60)
*3Inc means work 3 stitches into the same space, instead of a normal Inc where you work 2 stitches in the same space. This creates the curl.
Finish off, leaving a long end.
Straight Tentacles (Make 5)
Using pink:
Row 1: Ch 21
Row 2: Starting in the 2nd Ch from the hook, Sc into each stitch across (20)
Finish off, leaving a long end.
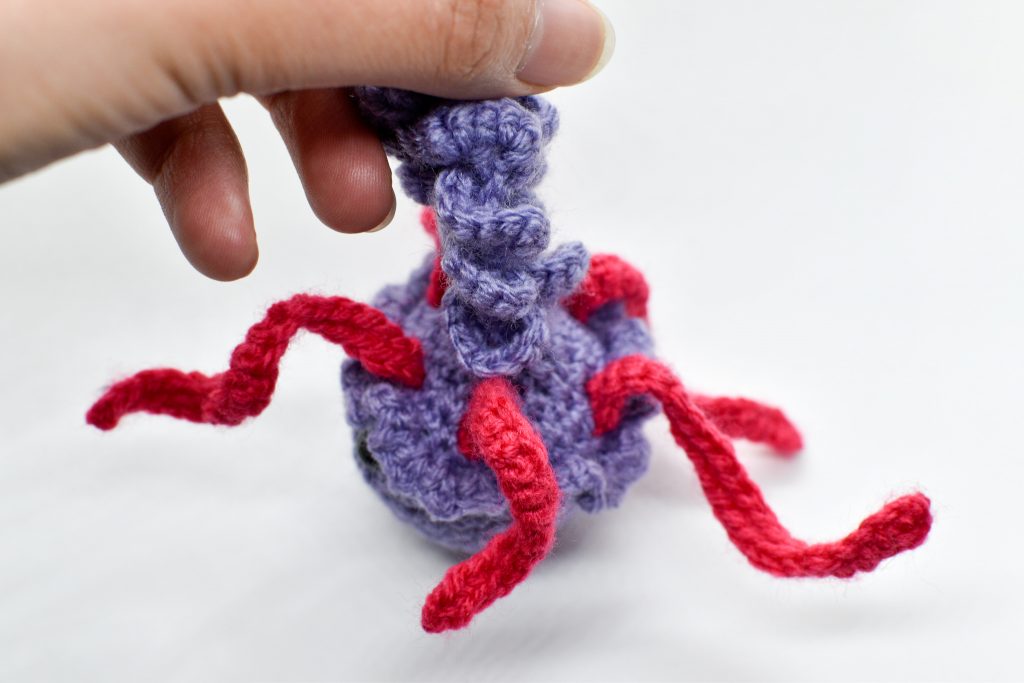
Assembling the Jellyfish
Turn the jellyfish upside down and pin the three curly tentacles in the middle. They shouldn’t be overlapping, but the tips of each should touch each other. Sew the tentacles to the head.
Pin the five straight tentacles evenly spaced around the inner edge of the jellyfish. They should be pinned to the main head, just under the fringe. Sew the tentacles to the head. See Figure 1 below.
Read on if you’d like to make your jellyfish into a keychain or Christmas ornament, otherwise you’re done!
Optional: Adding a Keychain
To create a yarn loop for attaching the keychain:
Using purple: Ch 11, then Sc into 2nd Ch from hook and Sc into the remaining 9 stitches (10)
Cut the yarn, leaving a long end.
The keychains I purchased consist of a split ring attached to a chain, and a separate open jump ring. If you have something similar, follow my instructions for attaching an open jump ring to your jellyfish.
If you have a keychain where the jump ring is already closed and can’t be easily opened, then skip to my instructions for attaching a closed jump ring to your jellyfish.
If you have an OPEN jump ring on your keychain:
Join the yarn into a loop and stitch it securely to the jellyfish.
To attach the keychain, insert the open jump ring through the chain of the keychain and then through the yarn loop you just made. Use pliers to close the jump ring tightly.
If you have a CLOSED jump ring on your keychain:
Do not sew the chains into a loop or stitch it to the jellyfishyet. First, run the yarn through the jump ring. Then you can go ahead and sew the yarn into a loop and stitch it securely to your jellyfish.

Optional: Turn your jellyfish into a Christmas ornament!
Want to turn your jellyfish into a festive Christmas ornament so she can hang out on your tree during the holidays? Read on to learn how to make the Bobble Stitch and to find the Santa Hat pattern.
Bobble Stitch Instructions
The Bobble Stitch is used to create the first row of the Santa hat. The stitch consists of your desired number of Double Crochets (4 Dc in this case) worked into a single stitch and secured by one loop, to create a texture that pops out from your work
Step 1: Yarn over, insert hook into the stitch where you are going to make the bobble. Yarn over, draw up a loop – this is like the beginning of a normal Double Crochet. You will now have three loops on your hook.
Step 2: Yarn over, pull yarn through the first two loops only. You will now have two loops on your hook.
Step 3: Next, instead of finishing the Double Crochet like you normally would, yarn over and insert the hook back into the stitch. Yarn over, draw up a loop, then yarn over and pull through only the first two loops again. You will now have three loops on your hook.
Step 4: Repeat step 3 two more times until you have five loops on your hook.
Step 5: Yarn over and pull through all 5 loops on your hook. This will complete the bobble!
Santa Hat
Using white:
Round 1: Ch 30, making sure to leave a long end of yarn at the start (you will use it later to sew the hat to the head). Slip stitch to the first ch to form a circle.
Round 2: Ch 3 (counts as first Dc of your first bobble), Bobble Stitch (3 Dc), Sl 1. For the remaining Bobble Stitches, you will make 4 Dc per bobble: (Bobble Stitch 1, Sl 1)*14 (30)
Using red:
Rounds 3-4: Sc around (30) – You will Sc into the top of the first bobble from Round 2 – skip the initial Ch 3.
Round 5: (Sc 8, Dec)*3 (27)
Round 6: Sc around (27)
Round 7: (Sc 7, Dec)*3 (24)
Round 8: Sc around (24)
Round 9: (Sc 6, Dec)*3 (21)
Round 10: Sc around (21)
Round 11: (Sc 5, Dec)*3 (18)
Round 12: Sc around (18)
Round 13: (Sc 4, Dec)*3 (15)
Round 14: Sc around (15)
Round 15: (Sc 3, Dec)*3 (12)
Round 16: Sc around (12)
Round 17: (Sc 2, Dec)*3 (9)
Round 18: Sc around (9)
Round 19: (Sc 1, Dec)*3 (6)
Round 20: Sc around (6)
Round 21: Dec*3 (3)
Switch to white to make the top ball. Leave a long red tail.
Round 22: Inc*3 (6)
Round 23: Inc*6 (12)
Rounds 24-26: Sc around (12)
Stuff ball and continue stuffing as you finish the last round.
Round 27: Dec*6 (6)
Finish stuffing the ball and close up the hole.
I hope you enjoy this pattern, and if you have any questions please don’t hesitate to comment below or email me.
And if you made your own Mini Jellyfish I would love to see a picture on Instagram! Make sure to tag me so I don’t miss it, @waywardpineapplecreations.

© Wayward Pineapple Creations | Julia Simpson This pattern and all related images are copyright protected. You may sell items made from my patterns, but please do not copy/paste, distribute, or alter the pattern and claim it as your own.
Menu
AFFILIATE DISCLOSURE
Wayward Pineapple Creations is a participant in the Amazon Services LLC Associates Program, an affiliate advertising program designed to provide a means for sites to earn advertising fees by advertising and linking to Amazon.com. If you use these affiliate links to make a purchase, I may earn a commission. As an Amazon Associate, I earn from qualifying purchases. Thank you.