Affiliate Links Disclaimer: This blog post contains affiliate links, which means that at no additional cost to you I will receive a small commission if you click through and make a purchase.
Happy New Year! I took a break from pattern designing for most of 2023, and instead I started doing local craft markets and selling my finished toys. It was a lot of work, but I really enjoyed it! I discovered I love making cuddly toys from jumbo chenille yarn – it’s all the rage these days, and I can see why. It’s a bit of a pain to work with at times (it sheds everywhere!), but it’s sooo soft and squishy. I got tons of kids coming up to my table at each event, and it was really rewarding seeing how much they liked my creations. 🙂
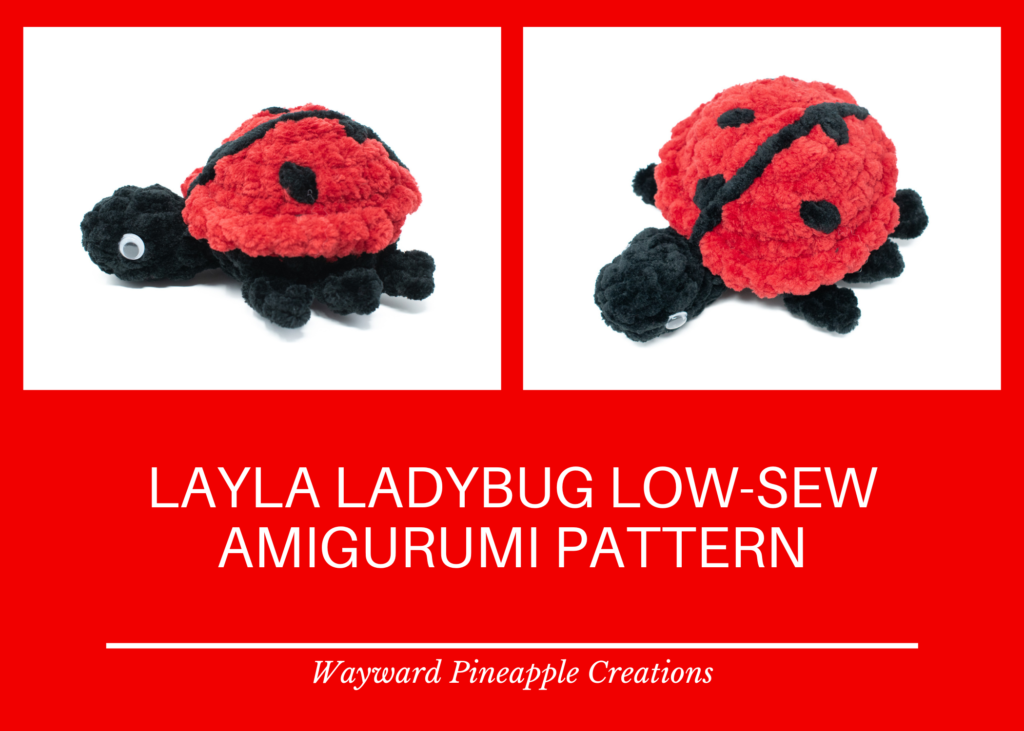
I’m getting back to pattern designing now, and first off I wanted to try my hand at a simple and cuddly low-sew pattern aimed at market sellers. With Spring approaching in a few months, I decided to make a Spring-themed animal – and ladybugs came to mind, with their association to flowers and gardens. This cute little ladybug would be a great addition to your Spring markets – pair her with some flowers and bees and make a garden display! The pattern is easy and works up really quickly in chenille yarn, plus the only sewing required is to sew on the head. Great for market prep! You could make her in thinner yarn, too, and she would be a super cute keychain.
This pattern is available for free with ads below, or as a downloadable ad-free PDF purchase for a low cost.
Join my newsletter and receive your FREE guide to the Five Essential Amigurumi Techniques!
Download an Ad-Free PDF Copy of the Layla Ladybug Low-Sew Amigurumi Pattern
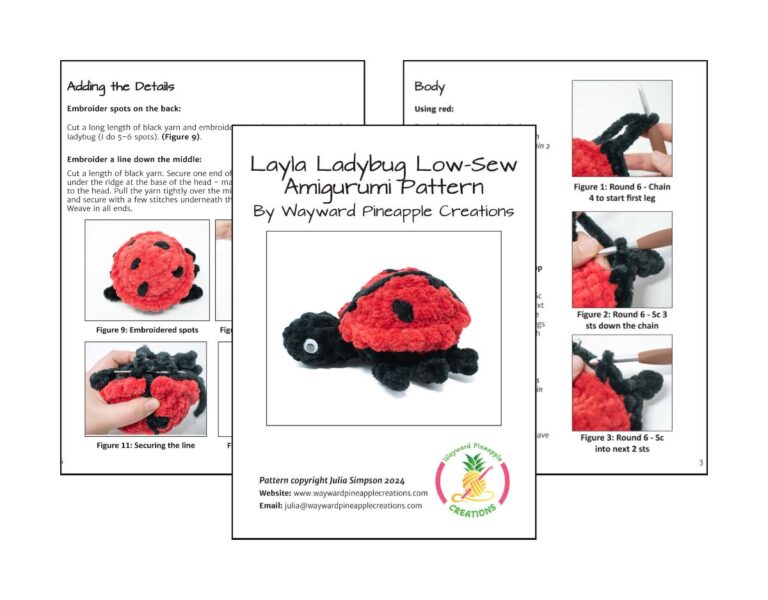
Do you like my Layla Ladybug Low-Sew Amigurumi Pattern? If so, please consider purchasing a copy of the premium PDF version for a small cost. The premium crochet pattern PDF is available for purchase on my website pattern shop, Ravelry, and Etsy, and includes 7 pages of pictures and detailed instructions to make your very own squishy ladybug.

Benefits Include:
In addition to the benefits above, your support will be greatly appreciated and will help me to continue designing and offering these free patterns to you!

Visit the links below to purchase your ad-free premium copy of my Layla Ladybug Low-Sew Amigurumi Pattern!
Layla Ladybug Low-Sew Amigurumi Pattern
Layla Ladybug is an adorable squishy toy, perfect for a Springtime gift or craft market! She is made from soft chenille yarn and works up quickly, with limited sewing required.
Skill Level
Beginner
Finished Dimensions
Approx. 6″ long
Supplies Needed
- Jumbo weight/#7 chenille yarn (Loops & Threads Sweet Snuggles or similar): Red (10 yds), black (10 yds)
- Size J / 6.00mm crochet hook – I recommend the ergonomic Clover Amour hooks
- Two 12mm black safety eyes or googly eyes
- Fiberfill stuffing
- Yarn needle
- Scissors & pins
- Stitch marker – I recommend locking stitch markers
Terms & Abbreviations
- Mc: Magic Circle
- Ch: Chain
- Sl: Slip Stitch
- Sc: Single Crochet
- Inc: Increase
- Dec: Decrease – I recommend using the Invisible Decrease
- BLO: Crochet in the back loops only
Pattern Notes
When reading the pattern, (_,_)*x means that you repeat the instructions in the bracket “x” number of times. For example, (Sc 1, Inc)*6 means to repeat (Sc 1, Inc) 6 times. The number in brackets at the end of each row is the total number of stitches you will have when you finish that row.
Pattern Instructions
Body
Using red:
Round 1: Sc 8 in a Magic Circle
*The Magic Circle can be difficult with bulky chenille yarn – you can also chain 2 and work Sc 8 into the first chain.
Round 2: Inc*8 (16)
Round 3: (Sc 7, Inc)*2 (18)
Round 4: (Inc 3, Sc 6)*2 (24)
Round 5: Sc around (24)
Switch to black:
Round 6: Working in the back loop only (BLO) Sc 6, (Ch 4, work 3 Sc down the chain, Sc into each of next 2 sts)*3, Sc 7, (Ch 4, work 3 Sc down the chain, Sc into each of next 2 sts)*2, Ch 4, work 3 SC down the chain, Sc into last stitch (24 + 6 legs – the legs are not part of the stitch count)
Round 7: (Sc 3, Dec)*6 (18)
*Make sure to just work into the Sc sts from Round 6, not into any of the chain sts from the legs.
Round 8: Dec*9 (9)
Finish off and sew up the hole. Weave in all ends.
Using red:
Turn the body upside down. Make a slip knot on your hook, insert the hook into the first leftover front loop from Round 6, and complete a Sc. Continue to Sc around in the front loops to make a ridge (24). At the end, Slip stitch into the first Sc to join, finish off, and weave in all ends.
Head
Using black:
Round 1: Sc 6 in a Magic Circle (or Ch 2 and Sc 6 into the first chain)
Round 2: (Sc 1, Inc)*3 (9)
Round 3: Sc around (9)
If you are going to use safety eyes, insert them now between Rounds 2 and 3, on either side of the head.
Round 4: (Sc 1, Dec)*3 (6)
Round 5: Sc around (6)
Finish off, leaving a long end.
Stuff the head. Press the sides of the top edges together to flatten the opening of the head and then sew straight across the opening to close it up.
If you are adding googly eyes, you can glue them on now or after the head is sewn onto the body.
Sew the head at the front of the body, underneath the red ridge. The front of the body is the opposite end to where you changed colour when making the body. There is a wider gap between the legs on this end, too, since there are more stitches between the two sets of legs.
Adding the Details
Embroider spots on the back:
Cut a long length of black yarn and embroider several spots on the back of the ladybug (I do 5-6 spots).
Embroider a line down the middle:
Cut a length of black yarn. Secure one end of the yarn with a couple of stitches under the ridge at the base of the head – make sure it is centered in relation to the head. Pull the yarn tightly over the middle of the ladybug and secure with a few stitches underneath the ridge at the back. Weave in all ends.
If you enjoyed this pattern, please consider purchasing the low-cost printable PDF version! You’ll receive a professionally formatted, ad-free PDF with photos to help you create your ladybug, and your support will help me to continue designing patterns for you.
If you have any questions about this pattern, please don’t hesitate to comment below or email me. And if you made your own Layla Ladybug I would love to see a picture on Instagram! Make sure to tag me so I don’t miss it, @waywardpineapplecreations.
© Wayward Pineapple Creations | Julia Simpson This pattern and all related images are copyright protected. You may sell items made from my patterns, but please do not copy/paste, distribute, or alter the pattern and claim it as your own.
AFFILIATE DISCLOSURE
Wayward Pineapple Creations is a participant in the Amazon Services LLC Associates Program, an affiliate advertising program designed to provide a means for sites to earn advertising fees by advertising and linking to Amazon.com. If you use these affiliate links to make a purchase, I may earn a commission. As an Amazon Associate, I earn from qualifying purchases. Thank you.

