Share on facebook
Share on twitter
Share on pinterest
Share on email


Affiliate Links Disclaimer: This blog post contains affiliate links and I make a small commission off any purchase you make when you click on them.
My Evie the Kitten Amigurumi Pattern came into existence for a very exciting reason – I taught my first ever crochet workshop! Read on to learn about my design process for Evie and how my crochet class went, and then scroll down to view the free pattern or purchase the premium PDF version in my Pattern Shop and make your own adorable kitten!
The Story of My Evie the Kitten Crochet Pattern & Teaching My First Ever Crochet Workshop
A few months ago I started attending life drawing sessions at a local art studio in downtown Halifax, Sparkles n’ Sawdust Art Centre. I noticed they listed ‘crochet classes’ on their window, and an idea formed in my head. I’ve always been naturally introverted and disliked public speaking, but I had uprooted my life and moved across the country two months prior and I was determined to challenge myself and be open to new opportunities.
I asked the owner about the classes, and it turned out that they were no longer running them and didn’t have an instructor anymore. Opportunity strikes! I took a deep breath and said that I would be interested in running a workshop. We scheduled a date, and suddenly I found myself doing lesson prep to teach an intro to amigurumi class!
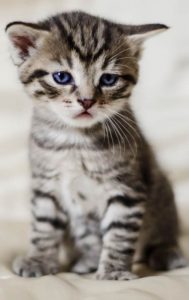
The owner of the studio suggested making a cat to bring in the cat-lover crowd, so I set to work designing. The class was going to be for intermediate crocheters so I could focus on teaching them the foundations of making amigurumi instead of how to hold their hook and yarn, but I still wanted the project to be fairly simple. I made a couple of wrong turns in the design process (at one point it looked rather like a mouse), and discovered along the way that I’m horrible at drawing animals… I tried to sketch out what I wanted and couldn’t get it right, so I decided to practice drawing a real cat to learn the proper proportions. It did not go well.
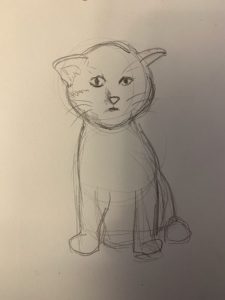
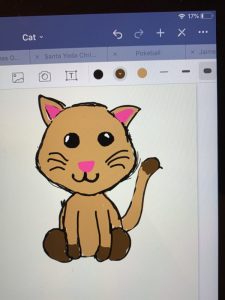
Devil kitty was not what I wanted. So back to hook and yarn I went, and finally kitty took shape into something I was actually happy with.
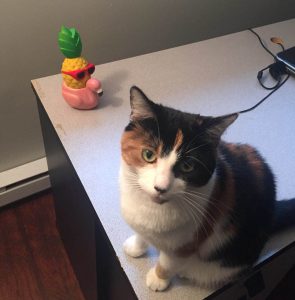
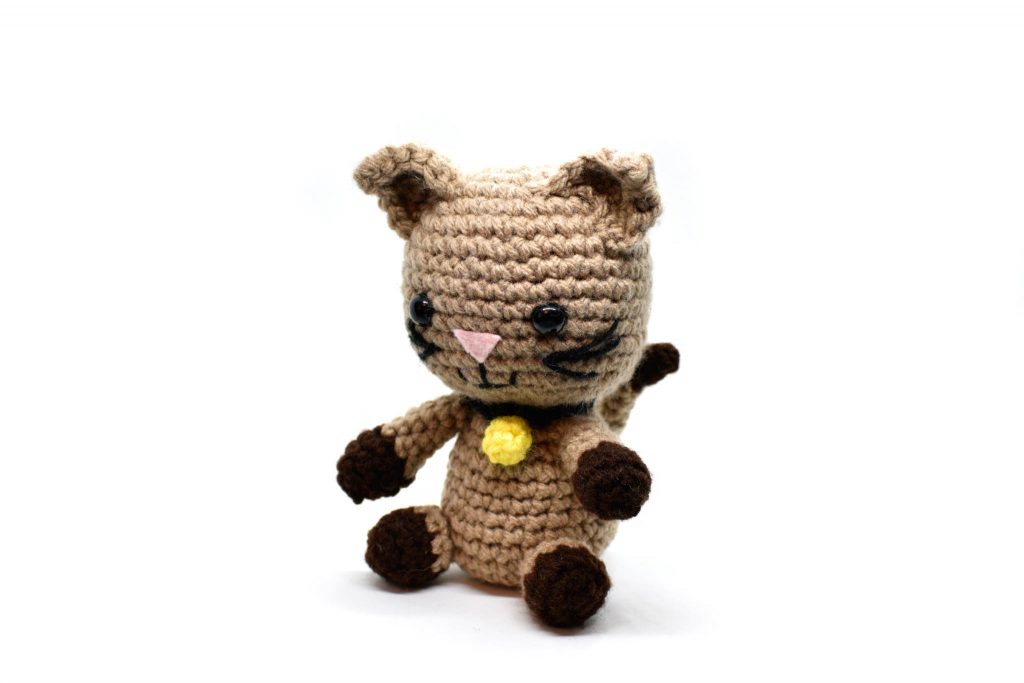
Evie is named after a cat I lived with for a few months this past Fall. I miss her. She was the first cat I’ve ever lived with, and we bonded, but alas she wasn’t mine and I had to say goodbye to her eventually. She wasn’t actually a kitten, but she was only two years old and could definitely be kitten-like when she was playing! In honour of Eviecat (as we called her), I thought this was a fitting name. 🙂 The doll really has no resemblance to Evie since I chose the name at the last minute as I finished typing up the pattern, but I’m going to use this as an excuse to post pictures of her anyway. Because LOOK AT HER isn’t she a cutie. <3

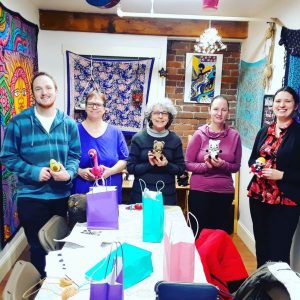
The workshop was a few days ago, and I must say it went very well. I faced a challenge right off the bat when two people showed up without any crochet experience, but I regrouped and put on a brave face and made it work. Fortunately it was a small class, so I was able to jump back and forth between the more experienced students and those who needed more help, and by the end of the class they’d both learned how to crochet so I call it a success! It was a fun evening with lots of laughter and a great group of people, and watching the students progress (especially the total newbies!) was very rewarding.
Join my newsletter and receive your FREE guide to the Five Essential Amigurumi Techniques!
Download an Ad-Free PDF Copy of the Evie the Kitten Amigurumi Pattern
Do you like my Evie the Kitten Amigurumi Pattern ? If so, please consider purchasing a copy of the premium PDF version for a small cost. The premium crochet pattern PDF is available for purchase on my website pattern shop, Ravelry, and Etsy, and includes 11 pages of pictures and detailed instructions to make your very own Evie the Kitten Amigurumi toy.
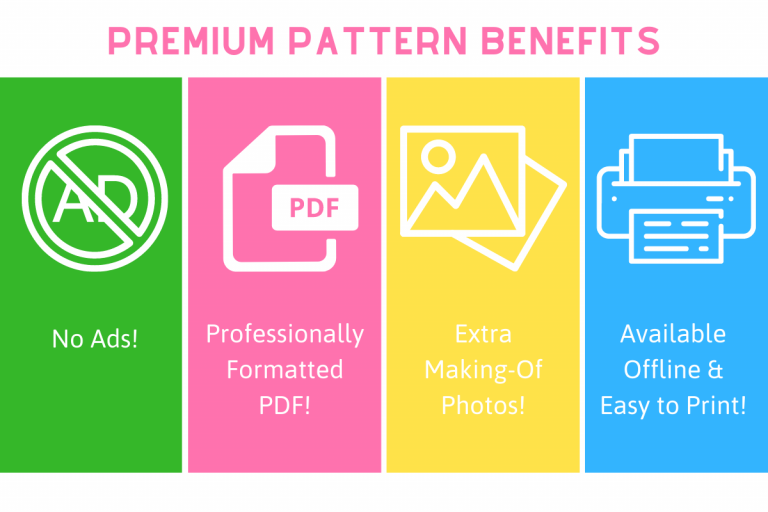
Benefits Include:
Ad-free & professionally formatted PDF of the pattern instructions, perfect for printing or downloading to your mobile devices
Extra making-of photos not included in the free version below
In addition to the benefits above, your support will be greatly appreciated and will help me to continue designing and offering patterns to you!

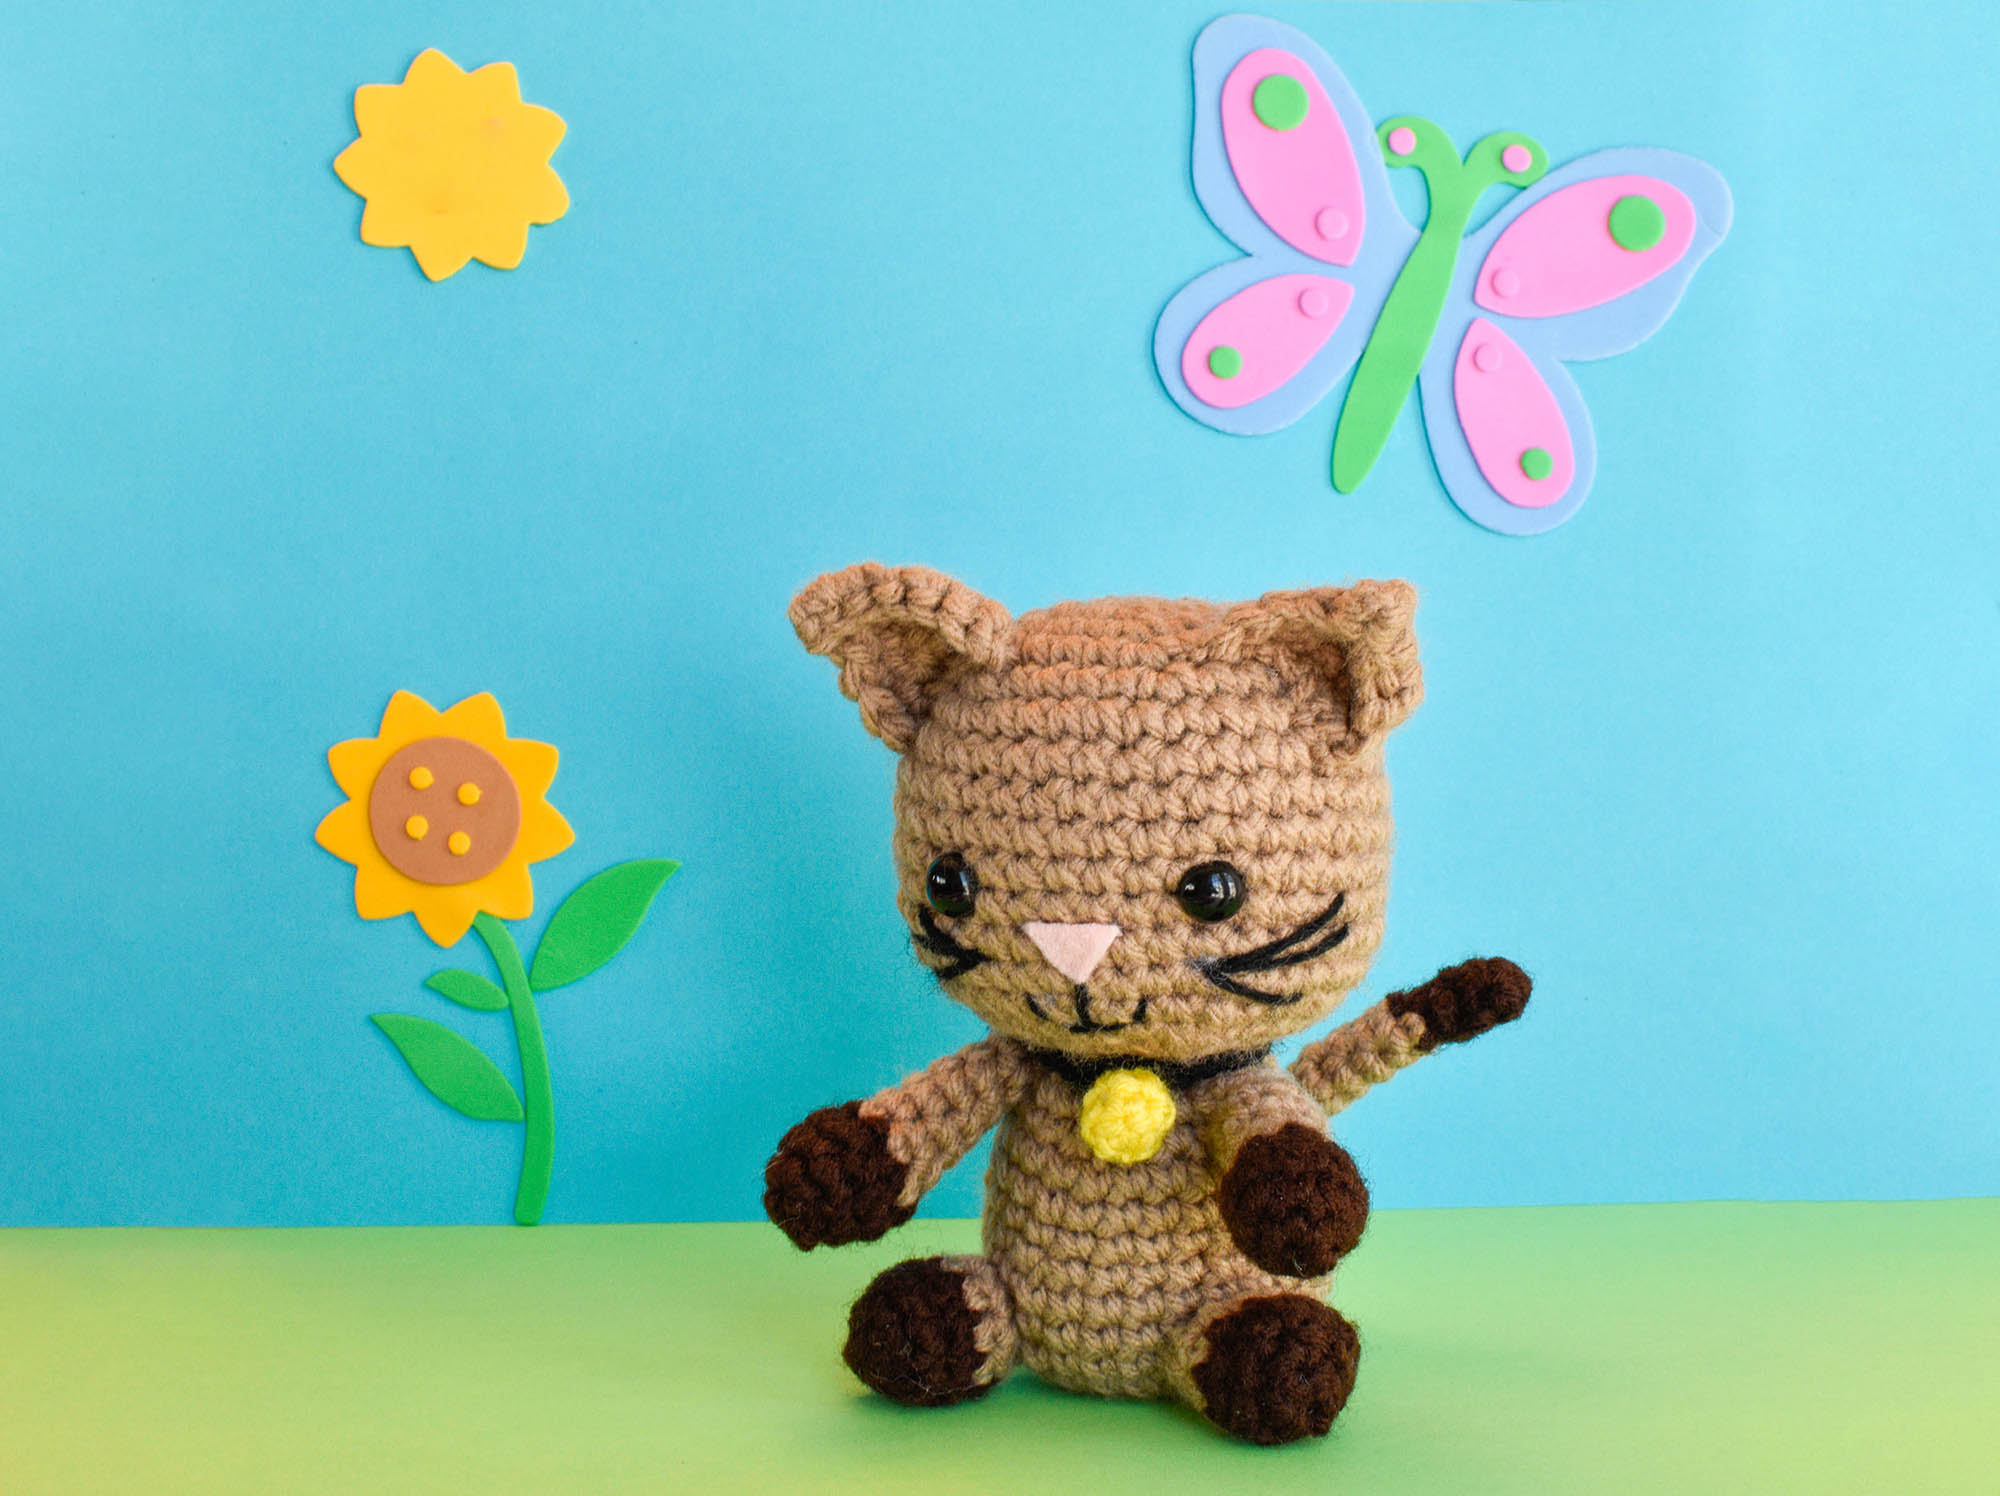
Evie the Kitten Amigurumi Pattern
Evie is an adorable kitten who is sure to brighten up your home with her playful antics! Her favourite hobbies are chasing yarn, sleeping on her human’s head, and helping with yardwork by defending her human from the deadly garden rake.
Skill Level
Beginner
Finished Dimensions
Approx. 5″ tall
Supplies Needed
Worsted weight yarn (Red Heart Super Saver or similar): Main body colour of your choice, contrasting body colour of your choice, small amount of black and yellow
Size F / 3.75 crochet hook – I recommend the ergonomic Clover Amour hooks
Small amount of pink felt for nose
Two black 10mm or 12mm safety eyes
Scissors & pins
Stitch marker – I recommend locking stitch markers
Craft glue
Terms & Abbreviations
All details below are based on US crochet terms.
- Mc: Magic Circle
- Ch: Chain
- Sl: Slip Stitch
- Sc: Single Crochet
- Inc: Increase
- Dec: Decrease – I recommend the Invisible Decrease
Pattern Notes
You will be working in a continuous spiral throughout, other than the ears and the collar, which are worked in rows. Use a stitch marker and do not join rounds or turn (unless otherwise stated).
When reading the pattern, (_,_)*x means that you repeat the instructions in the bracket “x” number of times. For example, (Sc 1, Inc)*6 means to repeat (Sc 1, Inc) 6 times. The number in brackets at the end of each row is the total number of stitches you will have when you finish that row.
Pattern Instructions
Head
Using main body colour:
Round 1: Sc 6 in a Magic Circle (6)
Round 2: Inc*6 (12)
Round 3: (Sc 1, Inc)*6 (18)
Round 4: (Sc 2, Inc)*6 (24)
Round 5: (Sc 3, Inc)*6 (30)
Round 6: (Sc 4, Inc)*6 (36)
Rounds 7-13: Sc around (36)
Round 14: (Inc*4, Sc 14)*2 (44)
Round 15: Sc around (44)
Round 16: (Dec*4, Sc 14)*2 (36)
Round 17: (Sc 2, Dec)*9 (27)
Insert the eyes now, between Rounds 11 and 12 and approx 5-6 stitches apart. Use your fingers to push out the cheeks (the points on either side where you added 4 increases in Round 14), and make sure the eyes are evenly spaced at the front of the head between the cheeks. Start stuffing.
Round 18: (Sc 1, Dec)*9 (18)
Round 19: (Sc 1, Dec)*6 (12)
Round 20: Dec*6 (6)
Finish off and finish stuffing. Close up the hole and hide the ends in the head.
Ears (Make 2)
Ch 1 and turn at the end of each row, starting from Row 2.
Using main body colour:
Row 1: Ch 7
Row 2: Sc across (6)
Row 3: Dec, Sc 2, Dec (4)
Row 4: Sc across (4)
Row 5: Dec*2 (2)
Row 6: Dec (1)
Finish off, leaving a long end. Attach yarn to a bottom corner of the triangle with a slip stitch and Sc up the side of the ear to the tip, then back down again to the other corner. Finish off, leaving a long end.
Using the end from Row 6, stitch the tip of the ear together to make it pointy. Pin the ears to the head, curving them slightly to the front with the ridge facing outwards. Once you’re happy with the ear placement, sew them to the head.
Body
Using main body colour:
Round 1: Sc 6 in a Magic Circle (6)
Round 2: Inc*6 (12)
Round 3: (Sc 1, Inc)*6 (18)
Round 4: (Sc 2, Inc)*6 (24)
Round 5: (Sc 3, Inc)*6 (30)
Round 6: Sc around (30)
Round 7: (Sc 8, Dec)*3 (27)
Round 8: Sc around (27)
Round 9: (Sc 7, Dec)*3 (24)
Rounds 10-12: Sc around (24)
Round 13: (Sc 2, Dec)*6 (18)
Round 14: Sc around (18)
Round 15: (Sc 1, Dec)*6 (12)
Finish off, leaving a long end, and stuff the body. Leave the top of the body open.
Arms (Make 2)
Using contrasting body colour:
Round 1: Sc 6 in a Magic Circle (6)
Round 2: (Sc 1, Inc)*3 (9)
Rounds 3-4: Sc around (9)
Switch to main body colour:
Round 5: (Sc 1, Dec)*3 (6)
Rounds 6-10: Sc around (6)
Finish off, leaving a long end. Stuff the arm. Use less stuffing towards the top of the arm – the bottom of the arm should be fully stuffed, but the top should be only lightly stuffed.
Legs (Make 2)
Using contrasting body colour:
Round 1: Sc 6 in a Magic Circle (6)
Round 2: Inc*6 (12)
Round 3: Sc around (12)
Round 4: (Sc 2, Dec)*3 (9)
Switch to main body colour:
Rounds 5-6: Sc around (9)
Finish off, leaving a long end. Stuff the leg.
Tail
Using contrasting body colour:
Round 1: Sc 4 in a Magic Circle (4)
Rounds 2-4: Sc around (4)
Switch to main body colour:
Rounds 5-14: Sc around (4)
Finish off, leaving a long end. Do not stuff.
Assembling the Cat
Step 1: Sew the head and body together
Sew the head to the body using the leftover end from the body.
Step 2: Sew on the arms and legs
Sew the arms to the cat’s sides, curving them slightly towards the front of the body. Sew the legs so they’re sticking out to the front and a bit to the side.
Step 3: Sew on the tail
Sew the tail to the cat, sticking upwards. Stitch the front of the tail to the body, by running your needle through the front couple of stitches of the tail and then a couple of stitches of the body. Stitch up the tail for approx one inch. Secure and weave in ends.
Collar & Bell
Collar
Using black:
Chain 18.
Test the fit of the collar to make sure it fits comfortably around the cat’s neck, and add or remove chains as needed.
Wrap the collar around the cat’s neck and stitch it together at the front of the cat (the seam it will be covered by the bell). You can run the ends into the body at the neck to hide them. This will also secure the collar so it doesn’t slide around.
Bell
Using yellow:
Row 1: Sc 5 in a Magic Circle (5)
Rows 2-3: Sc 5 around (5)
Finish off, add a bit of stuffing, and sew the hole closed.
Stitch the bell to the front of the collar and hide the ends.
Face Details
Cut a small triangle of pink felt and glue it between the eyes, with the top of the nose level with the bottom of the eyes. You can embroider the nose with pink yarn if you prefer.
Take a strand of black yarn and separate the strands so you are using only 2 strands. Embroider on the mouth, the link between the nose and the mouth, and the whiskers.
I hope you enjoy this pattern, and if you have any questions please don’t hesitate to comment below or email me.
And if you made your own Evie the Kitten I would love to see a picture on Instagram! Make sure to tag me so I don’t miss it, @waywardpineapplecreations.

© Wayward Pineapple Creations | Julia Simpson This pattern and all related images are copyright protected. You may sell items made from my patterns, but please do not copy/paste, distribute, or alter the pattern and claim it as your own.
Menu
AFFILIATE DISCLOSURE
Wayward Pineapple Creations is a participant in the Amazon Services LLC Associates Program, an affiliate advertising program designed to provide a means for sites to earn advertising fees by advertising and linking to Amazon.com. If you use these affiliate links to make a purchase, I may earn a commission. As an Amazon Associate, I earn from qualifying purchases. Thank you.
2 thoughts on “Free Pattern: Evie the Kitten Amigurumi”
Do you have Tiger Lily patterns?
Hi Doris,
I don’t, sorry! I hope you can find one somewhere. 🙂
Julia